Saturday, December 18, 2010

Anchor Winch


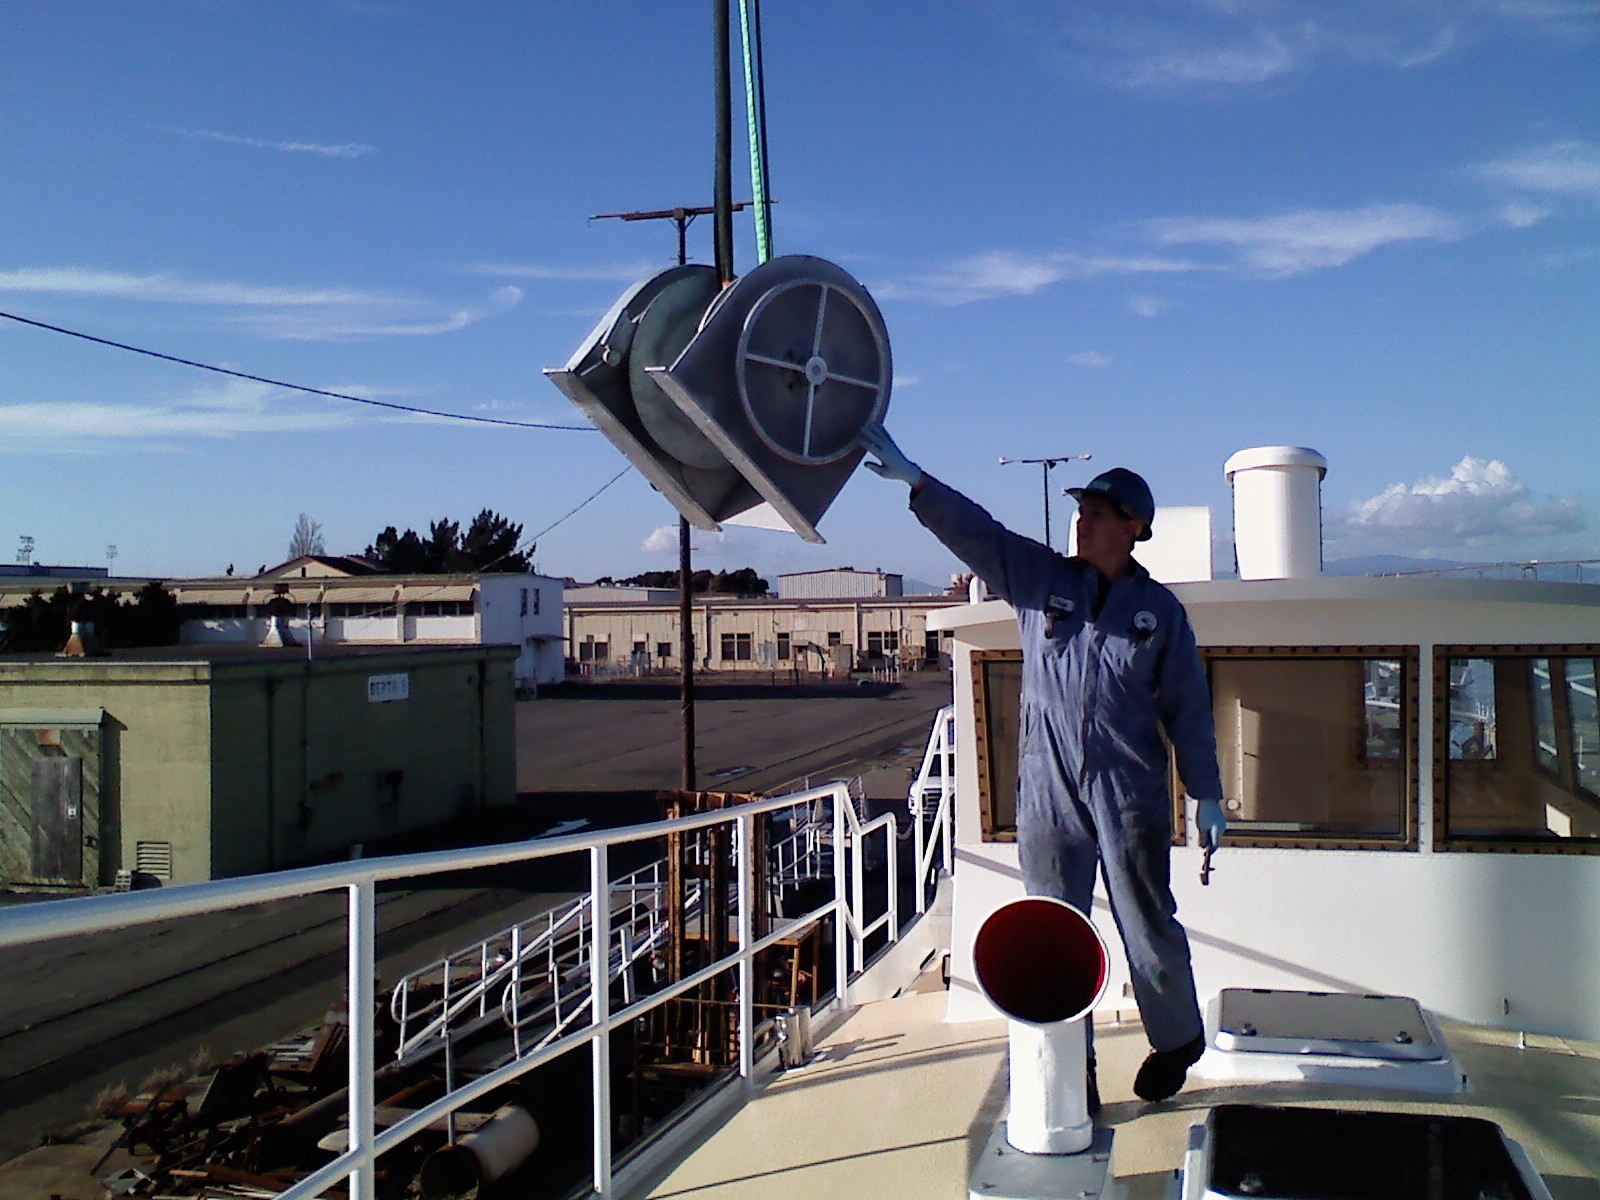
Here are a bunch of pictures from the last week of assembling and installing our anchor winch. We had plans to stage a crane on-site for one day to do a job on one of the Baylink ferries. I put our anchor winch project on the front burner so we could get it assembled in time to use this crane for our installation while it was here. I had completely disassembled and cleaned all the parts last winter and so they were ready for the galvanizer. Here they were dipped in a nice bath of molten zinc which should protect all the parts from corrosion for many years to come. Since it had been a year since I took the thing apart, it took a little head scratching to figure out how all the bits and pieces went back together - next time I need to take more pictures. The winch body and drum are very heavily built from 5/16" steel. The main shaft is 1.5" stainless steel riding in bronze bearings with grease fittings. It is powered by a hydraulic motor that turns a chain drive running in an oil bath. There is a clutch type assembly with a large clutch pad on either side of the drum. This allows you to engage/disengage the drum from the shaft by turning the large hand wheel on the port side of the winch. A nice robust design that shouldn't give us any problems, and will be easy to fix if it does...

Thursday, December 2, 2010

Dorade vents


Painted and installed dorade vents on the bow deck. These are a traditional style nautical vent that includes a water trap in the base so they can still allow dry fresh air into the boat when it tis wet on deck. Especially nice in the tropics. Went with traditional paint scheme on these and I think it turned out very "shippy" looking. As with most things on this boat, I put a lot more time into designing and building these than I planned... but I think the results are good and they add a lot of ventilation capability below decks.

Making crooked boxes


These are the boxes that form the frames around the port lights. As the title implies they are not really square, but more of a parallelogram in shape. Each set of port frames has a slightly different angle that was determined by following the line of the shear rail. We also tried to line up the top and bottom of the boxes so that when we install the interior tongue and groove planking between the frames, all the lines should flow nicely fore and aft. In the last couple of shots you can see the nailers installed that will support the interior planking. Next big project is insulation...

Thursday, November 25, 2010

Some engine room work


Felt like a break from working with wood for a while so I did a little work in the engine room. I cut some lift-out panels in the deck plates so that we can access the keel cooler and other plumbing without pulling up the whole panel. I finished installing the overboard valves in the engine room and as soon as we get some warmer dryer weather (for the sealant to set up properly) we'll be installing the keel-cooler and depth transducers. That will pretty much seal up the boat below the waterline. Also did some engine work... installed the turbo and a few other accessories including the engine driven hydraulic pump that will drive the anchor winch and a few other things on deck. The hydraulic pump has an electro-magnetic clutch so you can engage and disengage it from the wheelhouse with the flip of a switch. 

Friday, November 12, 2010

Forward sub-floor fit up


On Saturday, Sam and I spent some time on the boat installing the tank hold downs. Then on Sunday,Sue and I fit up the plywood sub floor in the forward part of the main cabin. As in the rest of the boat, the framing under the floor forms the supports for all the various access hatches.

Monday, November 1, 2010

Forward tanks and sub-floor framing


Installed the forward tanks (1 grey water, and 2 fresh water) and began work on the forward floor framing. As in the aft cabin, the tanks are 3/8' wall, roto-molded polyethylene from Plastic-Mart in Southern California. They sit in a "tray" built up out of 3/4" ply with a 2x3 frame that will lock the tank in place. The SS threaded rod at each corner of the frame is for hold downs.