Friday, May 27, 2011

Bed and more exhaust work


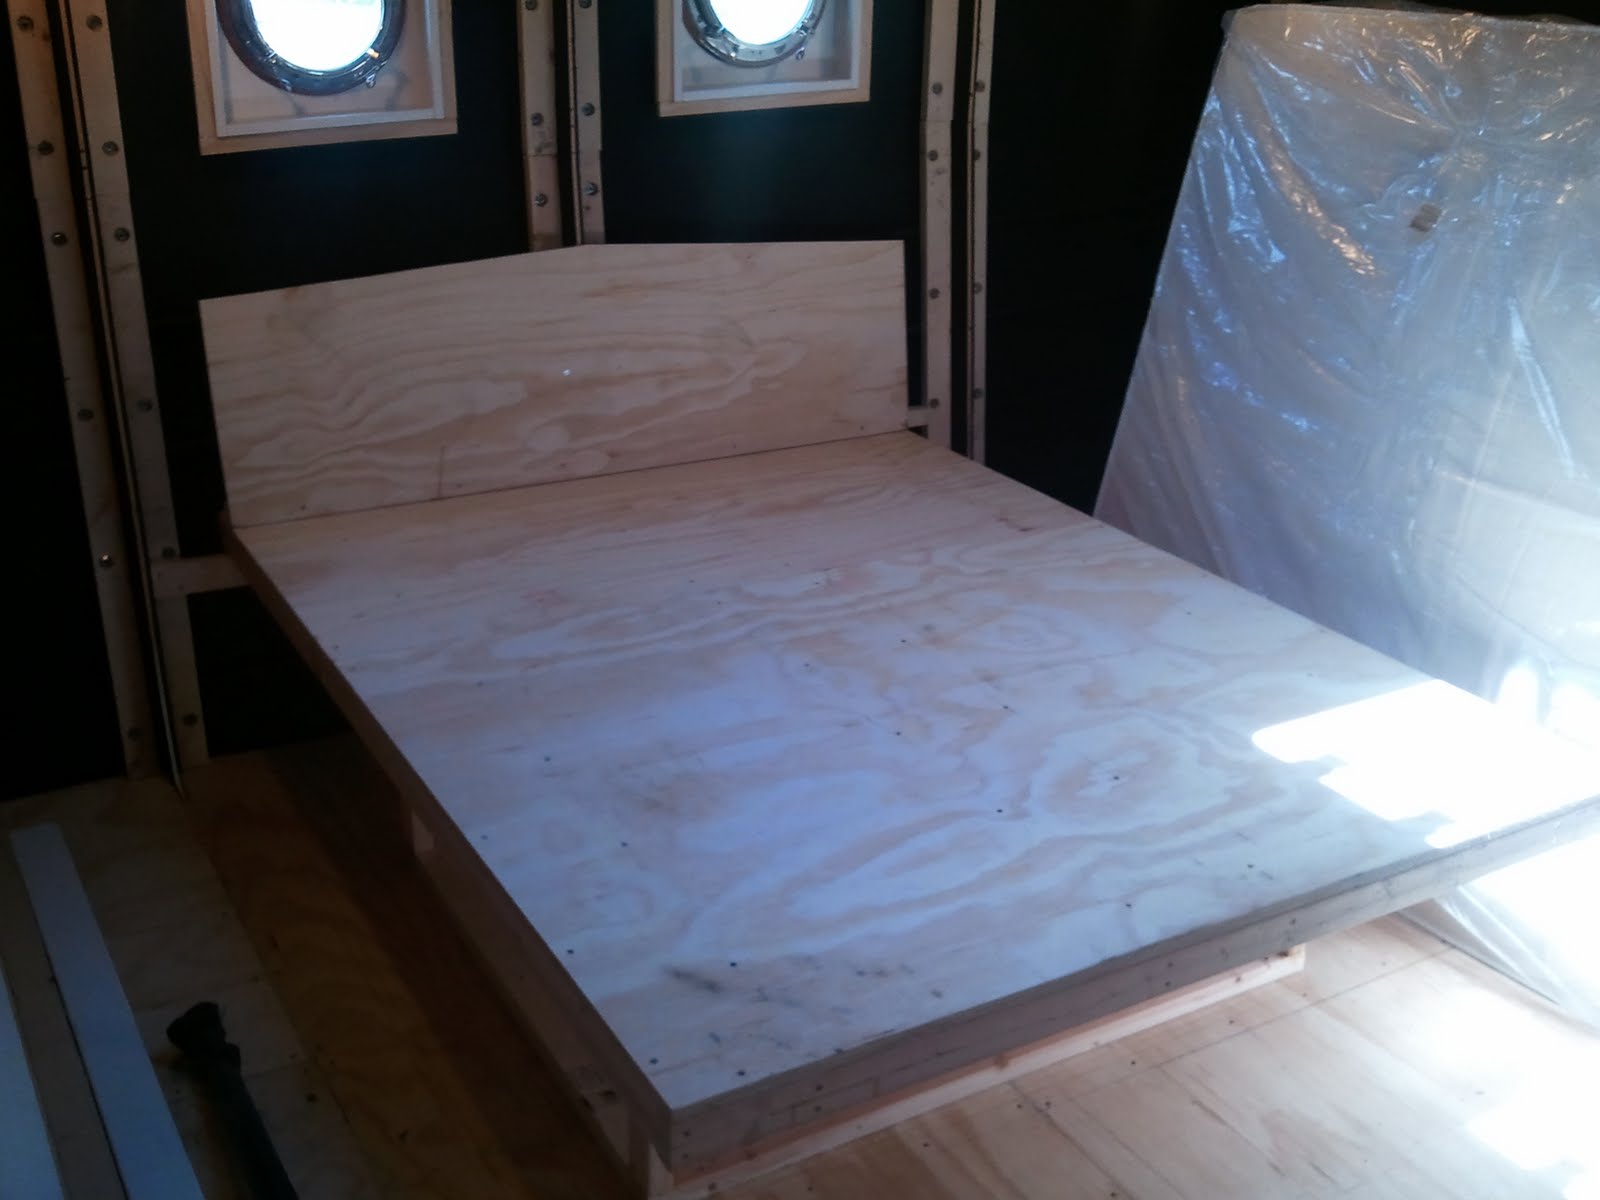
Another diversion from mechanical systems work... We decided that we needed a comfortable place to sleep overnight when working on the boat so I built the bed frame and installed the mattress in the aft cabin. When it comes to boat interiors, every inch becomes critical and this was no exception. We wanted the width of a queen bed but the length would have made for a tight squeeze between the foot of the bed and the bathroom bulkhead. (I'll let Sue tell the story...) OK, this is Sue...I really wanted a Queen size mattress after speaking to a neighbor who cruised around the world. She said especially in the tropics & as you get older, that extra 6 inches of width will mean a lot to you. I told Peter one night & he said we just couldn't make it work. He tried every which way to make the queen size work into our layout but we just didn't have the room. I was crushed (on the inside) but tried to put on a brave face (on the outside). One night, when we had to make a final decision, I said what about customizing. Pete looked around on the internet and found there is indeed a size called a short queen which is the width of a queen but the length of a full. Jackpot! (Back to Pete...) We ordered from a company called Rocky Mountain Mattress and two weeks later a rather small cardboard box arrived at the shop. I was a little concerned until I opened it and discovered that it had been thoroughly vacuum packed for shipping and was squished down to about half of its normal size. Once I cut into the bag, it "inflated" fully in about 30 seconds and was just as advertised. Its a combination of urethane and latex foam. Very comfortable and supposedly hypoallergenic and mold/mildew resistant. With a nice place to sleep, it was back to work on the exhaust system. We also cleaned up a bit and rearranged for our next project up forward, which will be installation of all the wood nailers for the forward cabin interior. PS - Sue again..the bed is awesome!!

Monday, May 2, 2011

Wheelhouse


Back to the wheelhouse... we completed the first section of the passageway overhead, which is also the foundation for the settee in the wheelhouse. Since we have a 90 degree winding stairway from the wheelhouse to the lower decks, we thought it would be handy to have a soft patch (remove-able section of flooring) that would allow us to easily transfer large objects down below. I ended up making a 26"x48" hinged section that lifts up to provide access to the passageway below. With this done, I was able to move on to the console, and bolting up all the basic structure for the helm. After a lot of experimentation, I settled on what I think is the best spot for the wheel and engine controls. With those installed, it is definitely starting to look like a proper wheelhouse.

Exhaust system work


We are trying to stick to projects that will make the boat operational for our launch which will hopefully happen sometime this year. So in that spirit, I have been working on the exhaust system. By coincidence, we are working on installing a new exhaust silencer on one of our ferries at Baylink. This is for one of the 3000 HP main engines so the scale is a "little" bigger than our boat. Back on our little project, I removed the top of the exhaust stack and fabricated the stubs that will connect via flanges to the rest of the onboard dry exhaust piping. The big pipe is for the main engine and the smaller pipes are for the future addition of a DC genset and a diesel furnace for heating. within the stack, each pipe will be bolted to a section of flexible pipe (called a bellows or wrinkle belly). These are accesible through the stack vents and will help to absorb any vibration, as well as expansion and contraction in the rest of the hard piping. Where the stubs come out of the top of the stack we will be adding some clamp on extensions in polished stainless to carry the exhaust up a little higher above the deck. In the pictures of the finished exhaust cap being painted, you can see the large silencer (that I salvaged from a ferry re-power) with a fresh coat of high temp paint. Still have some fabrication to do on the rest of the system in the exhaust trunk and engine room. More to come...