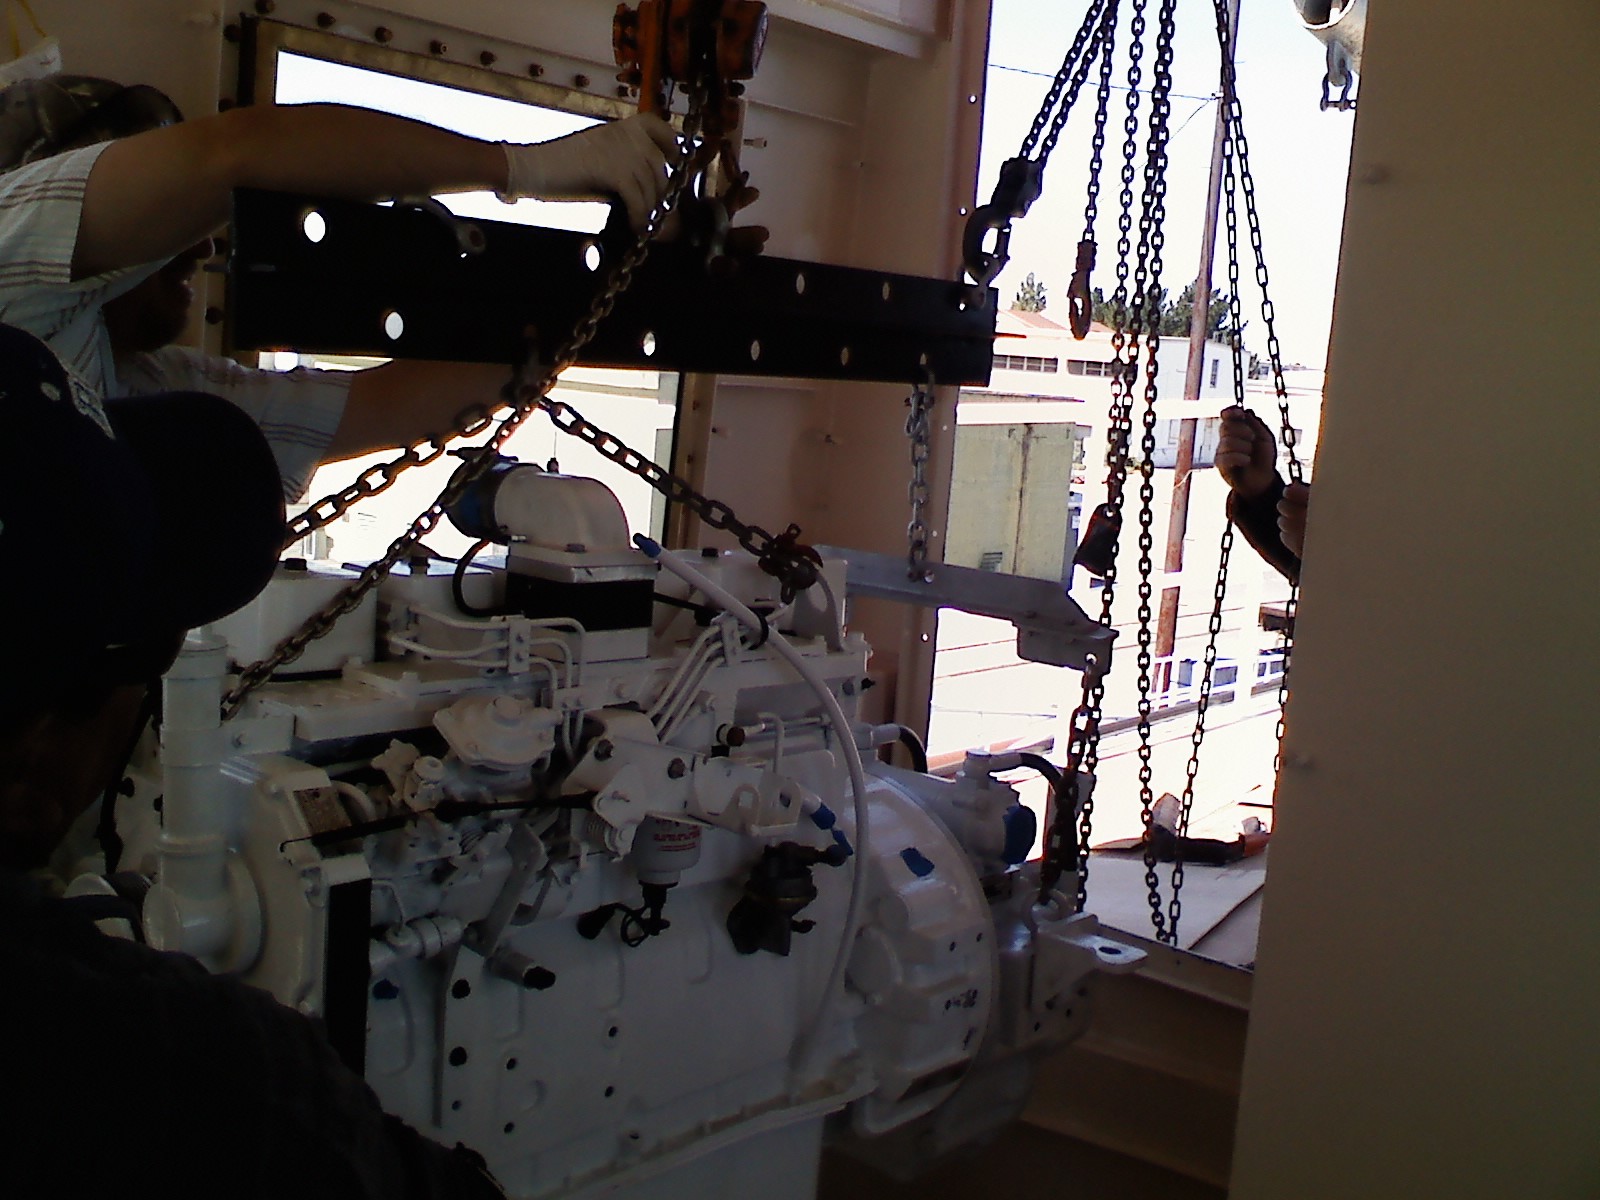
As soon as the engine was on the rails, I got right to work drilling and bolting down the engine mounts. Even though we are "on the hard" and unlikely to move (unless there's an earthquake), I still don't like the idea of 1200 pounds of steel and iron just sitting down there without anything securing it to the boat. I marked all the bolt locations, re-hoisted the engine and gearbox a couple of feet, drilled for all the engine mounts, used a little epoxy paint to touch up where I had drilled, and set the engine back down again. Drilling the rails went smoothly and everything lined up just fine with the bolt holes. I did a ballpark positioning of the engine on the rails (each of the four mounts is adjustable up and down and side to side) and cranked everything up tight. Next was the shaft seal and flange installation. The shaft seal keeps the ocean out of the engine room, and the flange connects the prop shaft to the output flange of the gearbox... both are critical. The shaft seal is a lip seal type made by Tides Marine. We've used this type for many years on our current boat with no problems and I think the quality of the design and materials is worth the little extra $$ that it costs compared to others. The seal is held in a carrier that is banded to the stern tube with a flexible bellows. One nice thing about the design is that you can change the seal in the water without too much drama. I put two spare seals on the shaft before the flange went on. These seals generally last for many years so we should be good for a while without any major disassembly of the flange and seal carrier. Once the shaft seal and spares were installed, the shaft flange went on. When we had the shaft at the machine shop, we had them do a matching taper and keyway on the flange and shaft. This is similar to the way the prop mounting works, and gives us a reasonable chance of removing the flange in the future without too much trouble (other flange to shaft mounting designs can be very hard to disassemble after a few years in service). The flange is held onto the taper with a keeper plate and three bolts. Once this was all tightened up, we slid the shaft forward and were pleasantly surprised to find that the shaft flange and the gearbox output flange clicked right together in a perfect "ballpark" alignment. I'll be doing a final engine to shaft alignment with a feeler gauge to get everything spot on, and then we'll check it again once we are in the water and everything has had a chance to settle.


 I've been working on finishing the engine room/passageway bulkhead and passageway subfloor for the past week or so. This is a key part of roughing out the interior as the passageway floor supports and the are anchored to this bulkhead. The top of this bulkhead forms a platform in the wheelhouse that will be the base for an L-shaped settee/dayberth. I made the bulkhead between the engine room and the passageway to the aft cabin by laminating two layers of 3/4" ply together and bolting them to steel angles that were welded to the wheelhouse floor framing at the top, and the 24" high longitudinal engine room bulkhead at the bottom. The pictures probably show it better than I can explain it... This plywood bulkhead will get fire resistant paint and insulation on the engine room side, and is sealed up watertight all the up way to the wheelhouse floor. Once the bulkhead was done, I moved on to the passageway subfloor. The floors are a tricky part of the design as they must have hatches incorporated to access all parts of the bilge. I think that in doing this first section of subfloor, I came up with a good system that goes together pretty quickly and I plan on using this type of construction for the subfloors throughout the boat. It starts with 2x3 wood nailers which are attached to the steel framing using the studs we welded on previously. On top of this, I use strips of 3/4 ply to frame out where we want hatches and provide support for the top layer of 3/4 ply. the plywood strips around the hatch openings also form the shoulder that the hatch rests on. When its all glued up and put together, it makes for a very solid floor. Next, I'll be installing some of the below deck tanks and continuing the subfloor into the aft cabin.