With the engine operational and most of the wheelhouse instrumentation in place, it was time to test the engine driven hydraulics for our big anchor winch. Filled up the hydraulic tank in the engine room and the oil bath for the chain drive on the winch. Pleased to say that all operated as planned... no leaks and everything worked. The spool valve we got for the winch works really well, with infinite control over the speed of the winch in forward and reverse. We pulled the 3/8" G4 chain out of storage along with our primary anchor and brought everything down to the boat. After temporarily marking out the chain (10 shots, a shot of chain = 30ft) we hooked it up to the winch drum with a piece of nylon line (easier to cut free in an emergency) and started winding it up onto the drum. I had a vague recollection of doing some calculations when I rebuilt the anchor winch and figuring out that we could "probably" fit 300ft of 3/8 chain on the drum. Don't remember how I came to that conclusion but fortunately it was right on, and our entire batch of chain fit nicely on the winch. The anchor came up on our roller nicely as well. When we designed and fabricated this set-up a year and a half (?) ago, we made plywood models of the anchor and the roller and tested it on the boat. Much easier than having to experiment with the real thing. This was one of those rare boat building projects that worked as anticipated with no major bugs to work through. Wish it all came together this easily...
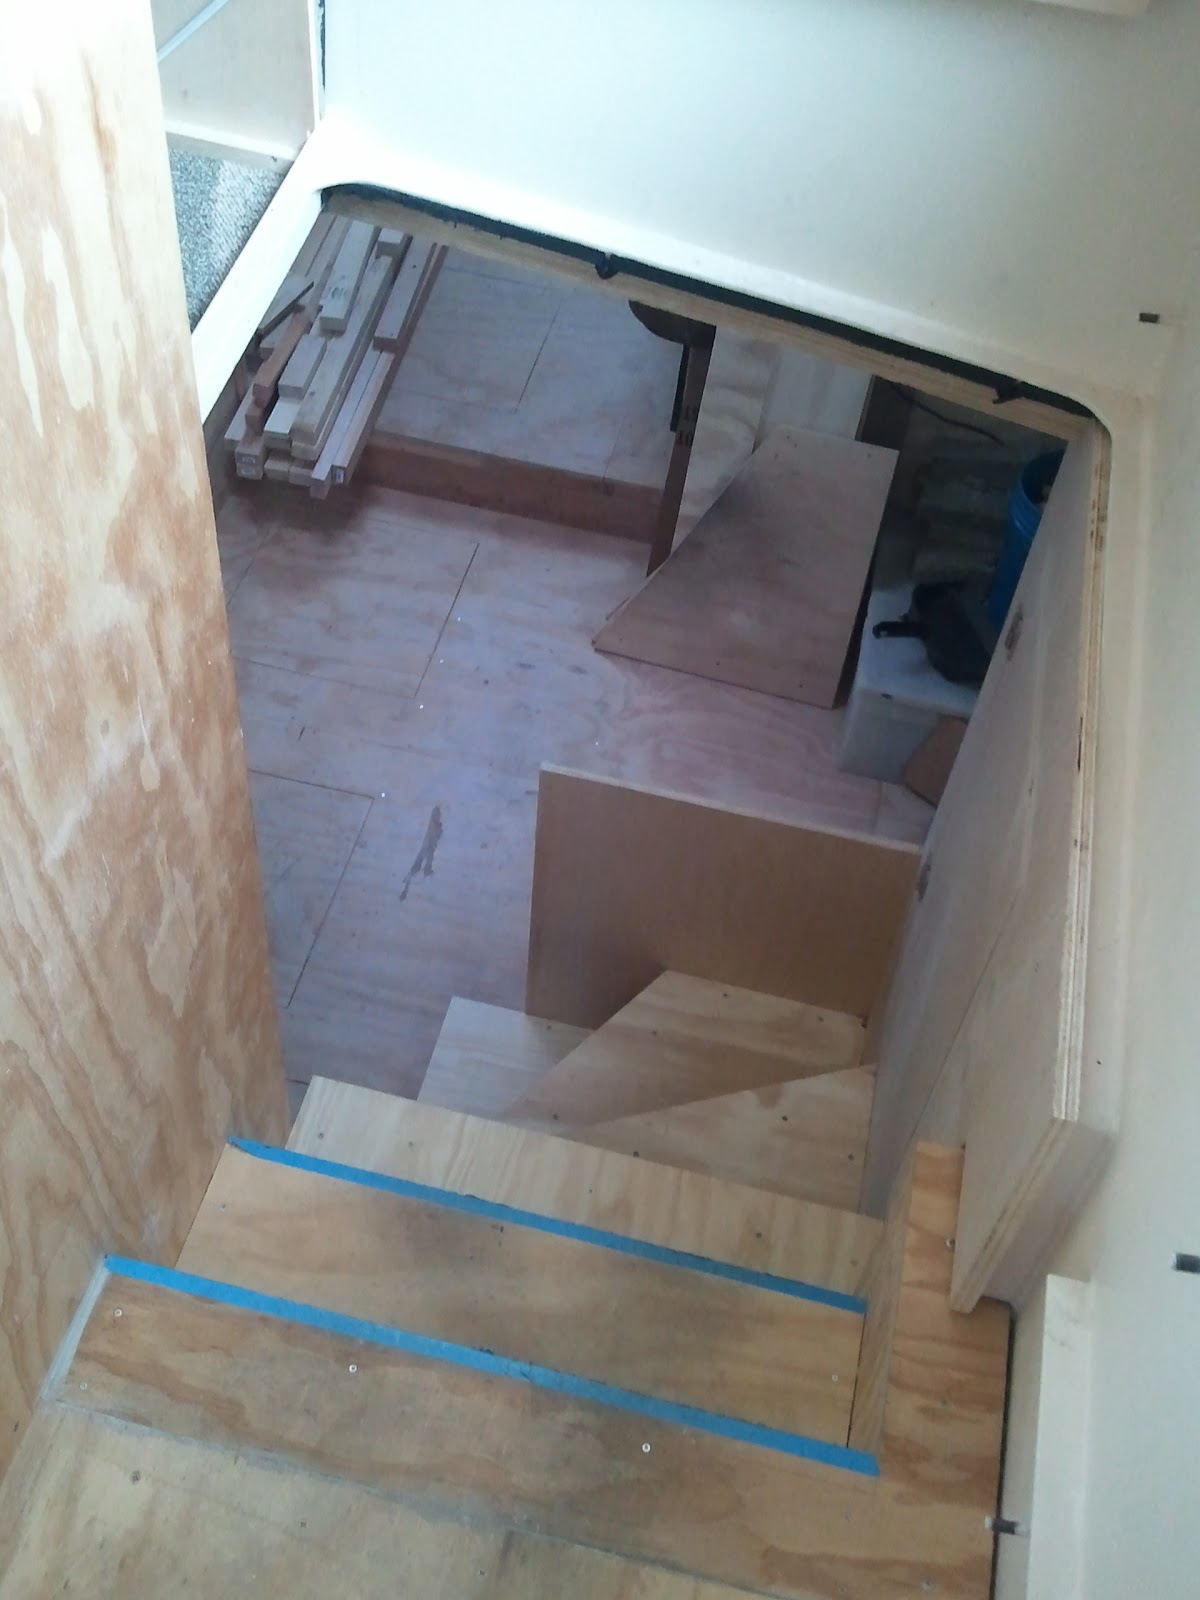
I have a little catching up to do... despite a few weeks off for vacation and some other adventures that I don't have time to get into here, we have been making some good boat progress recently. We kicked into high gear this last week or so. Finished the overhead paneling and lighting in the passageway. This was a little complicated because of the big hatch in the passageway ceiling. Definitely worth the hassle to put this extra hatch in though. With only 36"x24" clear down the stairs, we have been making use of this bigger opening to load in full sheets of plywood and other big stuff. When the hatch is closed, part of the wheelhouse seating sits on top of it. I decided that we had had a long enough trial period on the stair layout and it was time to do a proper installation. Of course this led to a whole series of related jobs with insulation, wiring, and finish work before I could button the area up and build the permanent stairway. The corner space to starboard of the stairs was a challenge as it was going to end up blocked in by the steps on one side and the dinette seating in front. I think we came up with a pretty neat solution in making it a hanging locker. Access through the little door is actually very good and it will be nice to have a place to hang jackets. Under the stairs, I'm going to have two 8D batteries that will be emergency backup power for the wheelhouse panel. These will power all the Navigation equipment and keep the engine running if everything else goes to hell. Still have to frame out the mounting for the batteries which is why the lowest step is still missing. Overall, I'm happy with the layout and glad to have another "problem area" figured out.