Sunday, June 27, 2010

More stripe coats and some final primer


We have the engine room and aft cabin completely stripe coated with epoxy and we'll be spraying those areas this week. Everything below deck, forward of the engine room is now sprayed with final coat of 235 epoxy primer. The transformation inside is amazing - it's finally starting to look like a new boat.  Once the interior is all primed, I'll be spraying Mascoat (an insulating paint that helps prevent condensation on steel surfaces) around all the hatches, portholes, and anywhere else that we will have exposed steel. I will also be spraying a white epoxy finish coat from the waterline down to the bilges, including the tank-tops. Above the waterline, the side-shell plating and overheads will get insulation. Exterior paint prep work will start soon.

Saturday, June 26, 2010

Stern Davit


When we are offshore, our skiff/dinghy will be carried securely lashed down on the aft deck. We made the aft section of rail removable so it can hang over the swim step a bit if necessary. The boat would be launched and recovered from the deck using a boom lift off the aft mast. In protected waters or calm seas we wanted a safe way to easily pluck the skiff out of the water without a lot of hassle. When we cruised up through British Columbia a couple of years ago, we found that we would have to launch and recover our skiff at least once a day for fishing, going ashore, etc. With a crane or boom lift this becomes kind of a hassle. So for this new boat I designed a stern davit that pivots off the transom and (if all goes as planned) will have the geometry to allow us to put the dinghy in the water right aft of the swim step with one 90 degree drop of the davit. It will be operated off the vessels hydraulic system (using hydraulic cylinders or a simple hydraulic winch) with some type of manual back-up. In the up position it will hold the skiff close in above the swim step where it can be well secured, but with enough headroom to not be in the way or block the aft steps. In the down position, it will put the skiff in the water right aft of the stern and allow easy access in and out of the skiff from the swim step. I'm still working out the design of the davit frame- what you see in the pictures is a mock-up (without the davit arms) that we used as a jig to weld on the lower stainless hinge points. We'll have to wait until we get our skiff/dinghy to finalize the rest of the design. 

Sunday, June 20, 2010

Painting Pics


More painting pics. Prep is all done in the forward half of the boat.  Pictures show spot coating with zinc primer, then stripe coat (to get paint into all the hard to reach places) with 235 epoxy primer. Will be doing final full coats of primer next week in this area. Started prepping the aft cabin for paint last Friday. Also a couple of pics fitting up the small Bomar hatch at the transom. This will house a hot/cold freshwater shower hookup (for rinsing off after swimming or diving), and a salt water wash-down (for cleaning fish). A few more odds and ends to weld on the exterior and more painting next week. -PB

Tuesday, June 15, 2010

Painting


Painting has finally begun. We are using some pretty toxic epoxies and thinners so we have added a lot of forced ventilation into the hull. Due to the low flash-point (the point at which the fumes will ignite) of the solvents, all the blowers are set up to blow fresh air into the hull rather than suck out fumes which could be ignited by sparks from the blower motors. The blowers, combined with the use of good respirators, seems to be keeping things safe inside even with the warm weather we've been having lately.  In the past couple of days, we have prepped the interior from the bow back to the forward engine room bulkhead (this is roughly half the boat) and applied a zinc epoxy primer to all the bare metal spots and welds. This, combined with the zinc primer coat that the steel originally came with from our steel supplier, gives us a very good undercoat for the 235 marine epoxy primer that we'll start with tomorrow. Once the front half of the boat is completely primed, we'll seal it off with plastic (to keep out dust and grit) and start prepping the aft half (engine room, wheelhouse, and aft cabin). -PB

Weekend Visit


Just some pictures from one of our family days at the boat last weekend... This time around we made sure all the welded studs were straight, cut and installed little short pieces of 3/8" hose on the ends of each stud to protect the threads from paint (yes, it was as tedious as it sounds), and fabricated some pad-eyes and brackets to attach a storage locker to the deck in front of the wheelhouse. We also had our usual afternoon snack (it was about 85 degrees out- good chocolate Frosty weather), tried to make sure we weren't forgetting anything that we had to get done before paint, and generally goofed around.

Monday, June 14, 2010

Boat Stands


This week we got the boat sitting on proper boatyard stands and cut off all the welded supporting framework. The stands are very heavy and should do the job. when the time comes to paint the bottom we will shift the stands (in pairs) so that we can paint under their present location. We had to modify some of them to fit under the hull, but for the most part everything went very smoothly. The final step in the process involved making sure all the stands were tight, then cutting the final supports from the hull with a torch and knocking them free with a sledge hammer. We also chained the stands together under the keel so that they can't slide out or shift position. It was a typically windy summer day at Mare Island and we kept a very close watch on things through the process of transferring the weight to the stands. Actually the keel blocks carry almost all the weight. The stands are just there to keep us upright, but a failure of this arrangement would be very very bad. We still check everything regularly to make sure nothing's shifting around. Once we were up on the stands, I removed the rudder and rudder shaft for (hopefully) the last time so we can paint and install the bearings. Again the lifting points we installed on the hull came in extremely handy for this job - definitely a worthwhile addition to any boat like this. Anyway, we are still standing and, apart from a nasty blood blister from pinching my finger on one of the stands, all went well. -PB

Saturday, June 5, 2010

More odds and ends


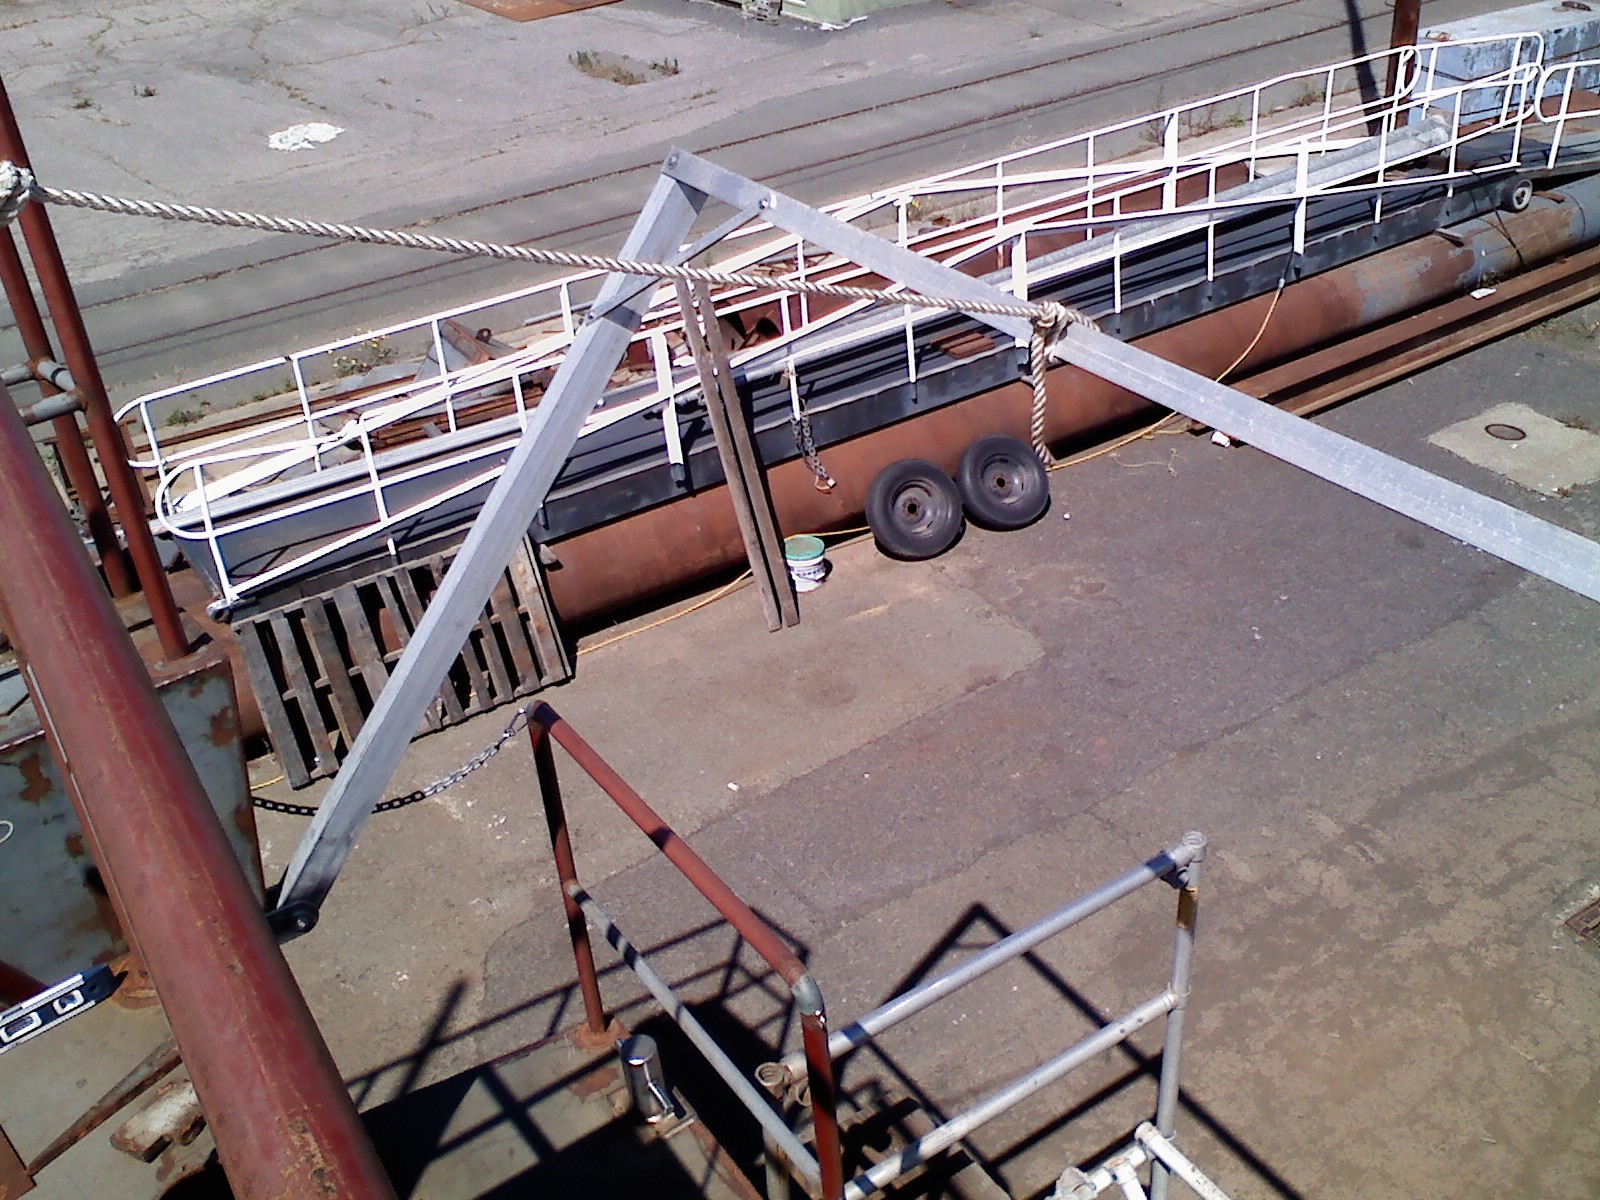
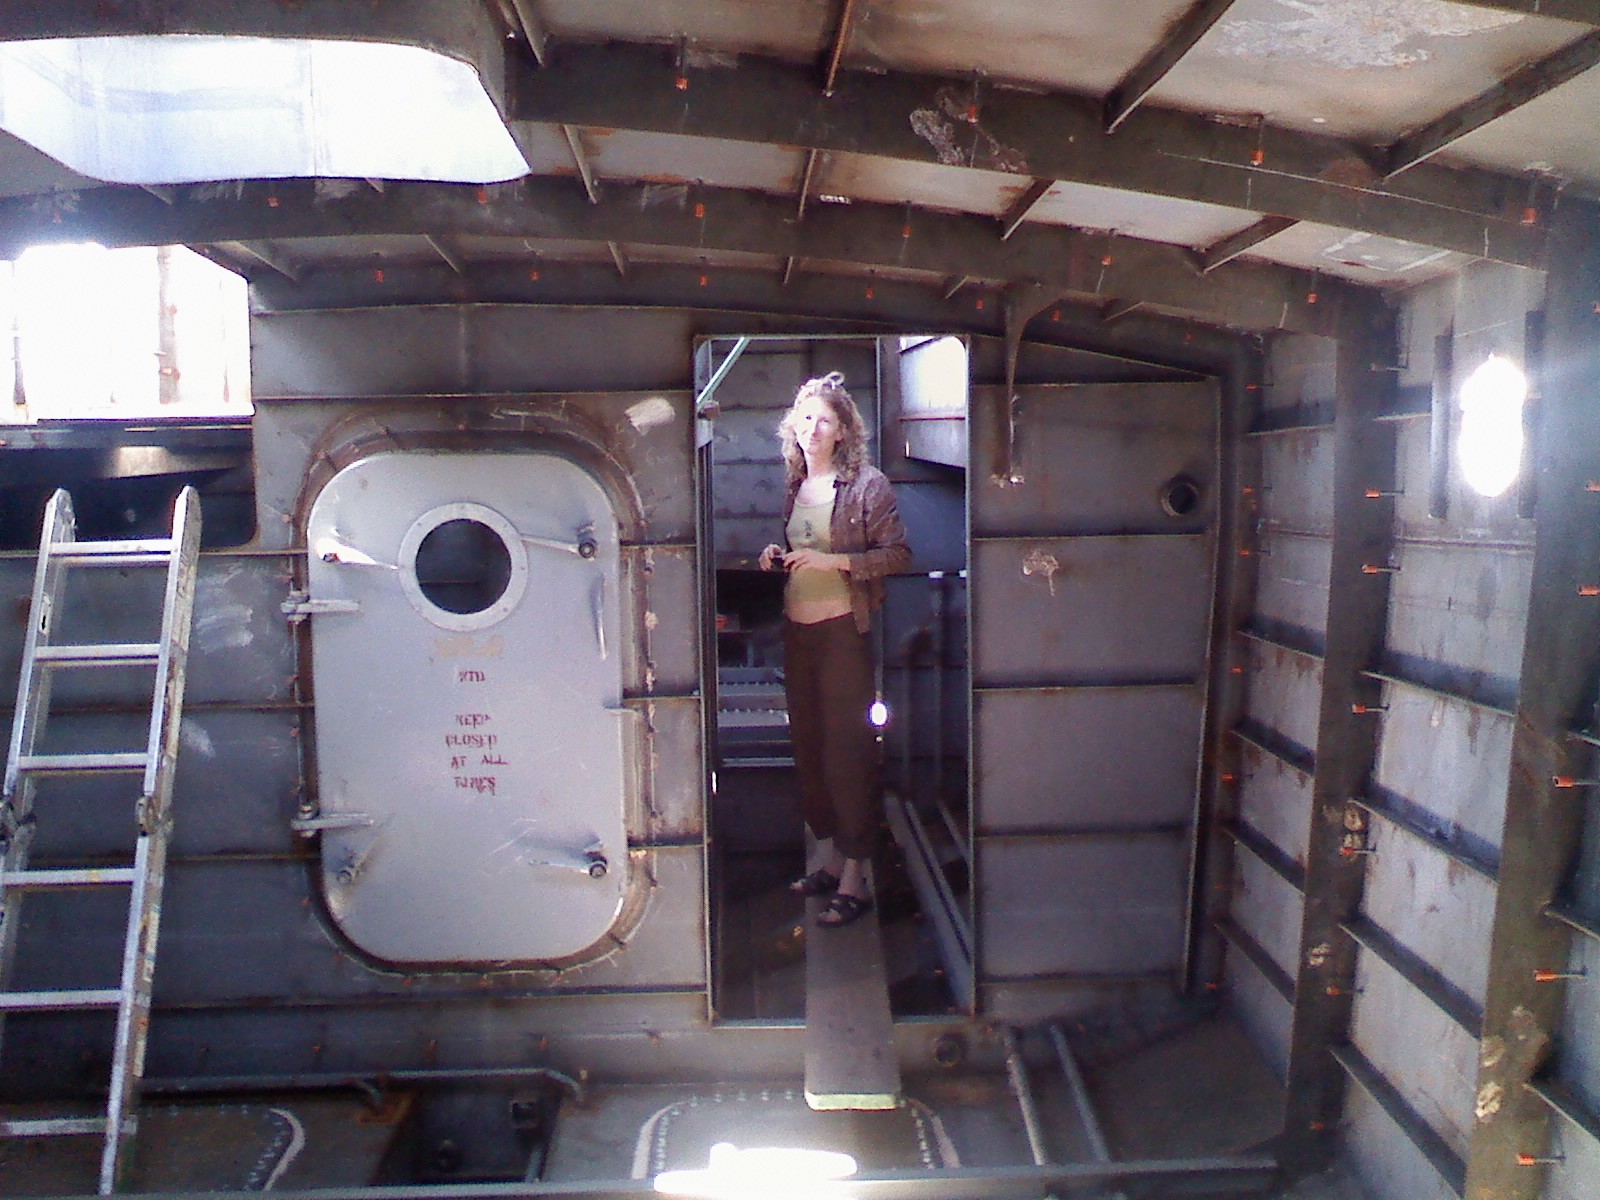
Some more pics of odds and ends. I usually don't make it into any of these blog pictures because I am the one taking the shots, but I did manage to sneak my foot into the picture from the wheelhouse roof looking down. Finished a few more details Friday... Installed some 1.5" stainless goosenecks in the wheelhouse overhead to pass our wiring through from the helm to the top of the wheelhouse. This is a quick and easy way to run all of our connections (antenna, radar, nav lights, air horn, gps, etc.) through to the outside while keeping the water out. Also makes it very easy to add or subtract wiring in the future. We put one in each corner up fwd and one on either side of the mast at the back of the wheelhouse. The pre-drilled flatbar that you see welded up next to the fwd wiring goosenecks will be used to attach the port and stbd running lights. We welded in a few more couplings. The two at the back of the wheelhouse are for fresh water inlet and outlet. Also put in another raw (salt) water outlet (under the starboard side deck step, next to the black and grey water pump-out). This one will be fed from either the electric wash-down pump or the engine driven bilge/fire pump, depending on how you set the valves in the engine room. The overall plan is to have raw water wash-down/fire pump outlets at the bow in the anchor well, mid-ships at the side deck, and at the stern on the transom. Fresh water will be available on deck at the back of the wheelhouse, and the stern (with a hot/cold shower at on the swim step). We came to the conclusion a while back that we didn't have the bucks to put up the sail rig with the initial fit-out. In order to have a place to mount radars, antennas, nav lights, and such, we are going to put up a temporary mast made from 3.5" aluminum pipe at the back of the wheelhouse. We welded a couple of pre-drilled Stainless flat-bars to the deck, and I knocked together a simple mast step out of some spare UHMW plastic and aluminum angle that bolts up to the flat-bars. The temporary mast is also bolted to the roof of the wheelhouse and will be supported higher up by a pair of pipes running down to padeyes which are located forward on the wheelhouse roof. Kind of a home-brew fishing boat style a-frame arrangement. The last two items on my plate right now are to design and build a "utility box" for the transom that will hold the swim platform shower and salt water wash-down outlet (maybe with a hinged cover), and design some kind of downspouts at the aft corners of the wheelhouse for the roof drains. For the downspouts, I am thinking of using some stainless pipe that would be welded to the wheelhouse and be stout enough to serve as handholds. The connection from the roof to the downspouts will be via a short section of hose so that the runoff can be connected to a filter and diverted to our water tank fills on deck. Both of these projects will require some rummaging through the scrap pile to see what we have laying around that looks right. These kind of little design/build projects are taking up a ridiculous amount of my time lately, but are best sorted out now before we paint. So, if all goes well we will be on track this coming week to install the rest of the new boat stands, cut off the welded hull supports, and start prepping and painting.