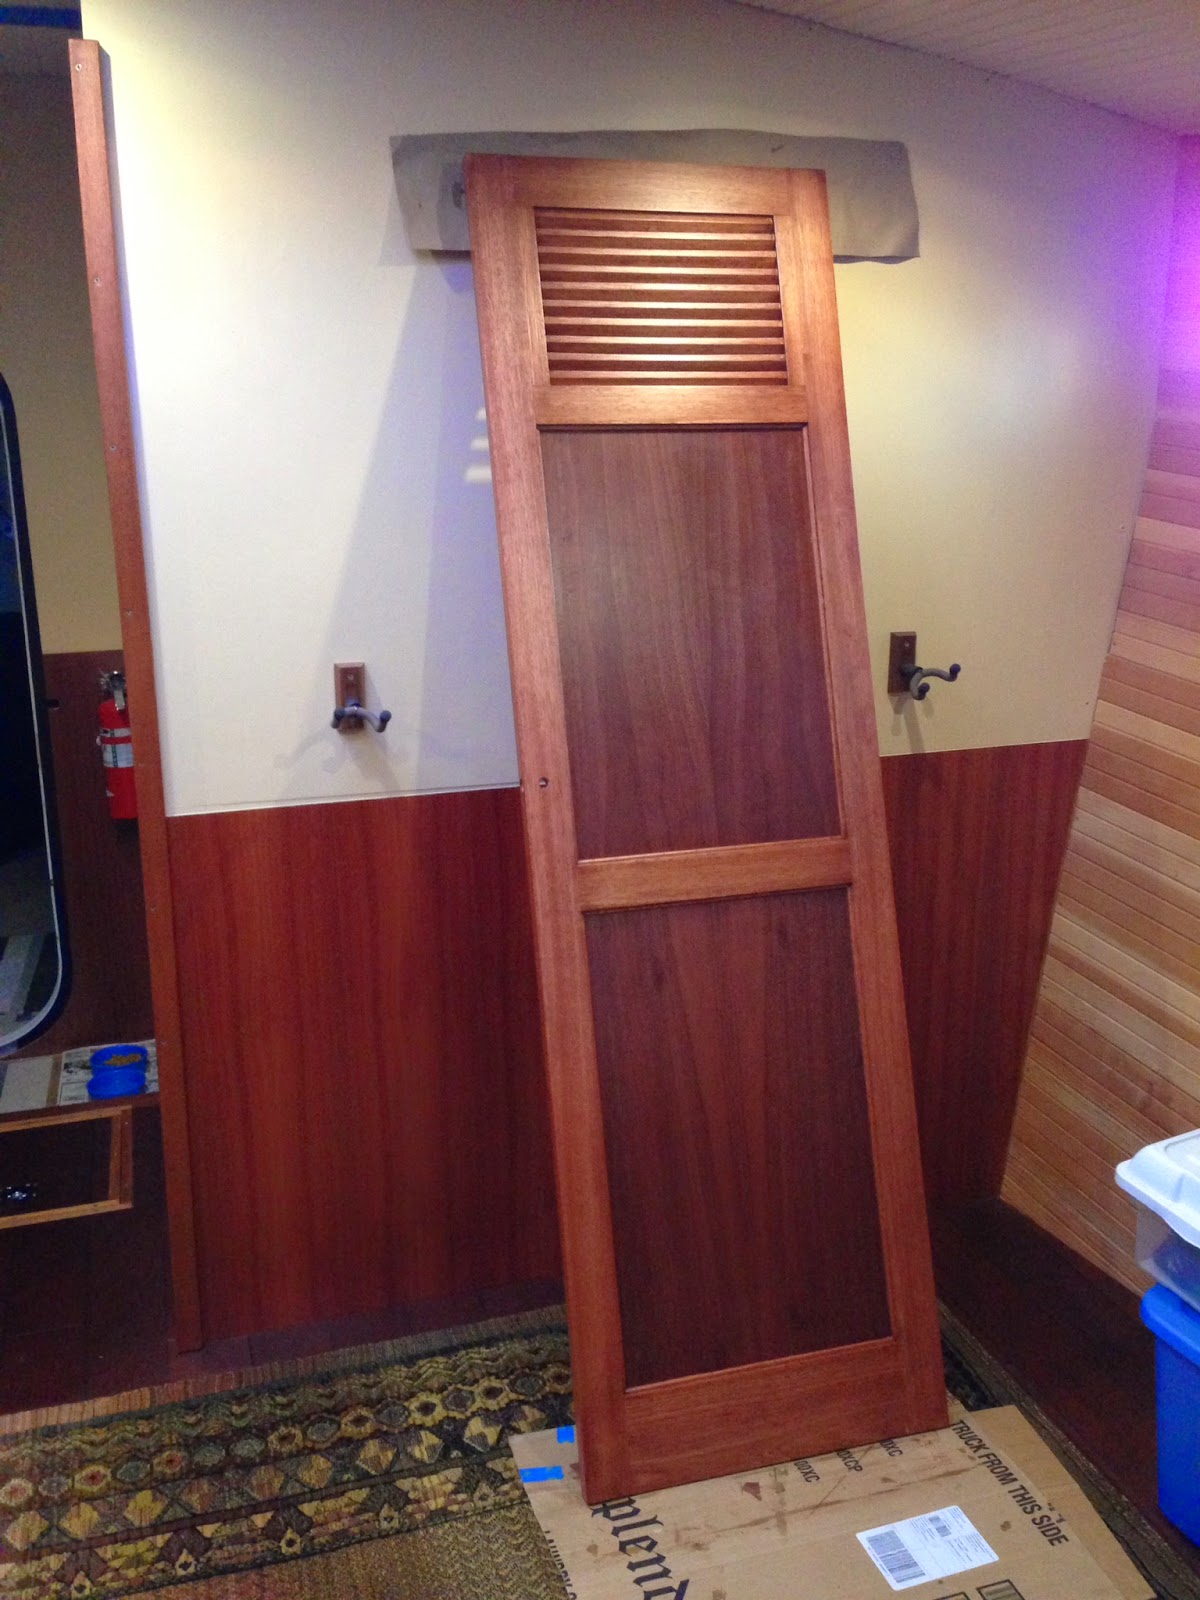
Some more work in the aft cabin... With the carpet tiles arrived and ready for install, we decided to do the necessary veneer work and painting while the floor was still unfinished and much more forgiving of paint and varnish drips.Many of the bulkheads in the aft cabin were still bare plywood in need of finish. After a lot of consideration, we decided to finish the lower half of the bulkhead with the last scraps of Lyptus wood veneer, and paint the top half with a nice complimentary color. This is a standard finish in old classic yacht interiors and we wanted to echo that in our boat. This is also in line with my original concept of having a rugged steel workboat exterior with a warm comfortable old wooden boat interior.
The veneer went pretty smoothly, though matching grain and color using the big pile of leftover scraps took some time. After a couple of good coats of varnish, the new veneer blends nicely with the rest of the cabin. Here's Sue to explain the slightly more complicated experience with the paint:
We divided up the task - I painted the passageway, Pete painted the bedroom. After a few moments he called me in for an opinion - he had painted a little corner - it looked great. I kept on with the passageway which was looking ok, but not great. A little while later Pete called me back for a second opinion. He had done a whole wall & it looked pretty terrible. We both looked at each other & just shook our heads. The resulting color could best be described as a cross between a rusty piece of steel, and cardboard box. I immediately thought all was lost but Pete kept his cool and started to mix the passageway color w/the bedroom color. He tried a few mixes on the wall & when we got to one that we both agreed was better than the original, he mixed up a large batch & painted the whole bedroom. In the end, the hallway ended up really nice & the bedroom color has been growing on us steadily. Not sure what to call it or how we will ever duplicate it but for now it works. Whew! -SP
With the bulkheads done, I decided to spend Monday messing around with the carpet tiles (a commercial product made by Tandus). We used their 24x24"squares which have a very stout thin rubber backing that is completely waterproof. The tile version of this carpet was necessary because of the many cutouts to fit around hatches and built in furniture in the space. Doing this with roll carpet would have been next to impossible. After cutting and fitting a couple of the easier tiles, I kind of got on a roll and ended up knocking out the whole cabin in about 5 hours. I found this stuff really forgiving and easy to work with. All the seams match nicely and the finished product looks like one big piece of carpet. It lays down well on its own, but I will be pulling it back up in sections to glue it down with a special adhesive that will allow individual tiles to be replaced in the future if they get damaged.
Next up will be painting bulkheads in the forward part of the boat, while we still have all the paint supplies handy.