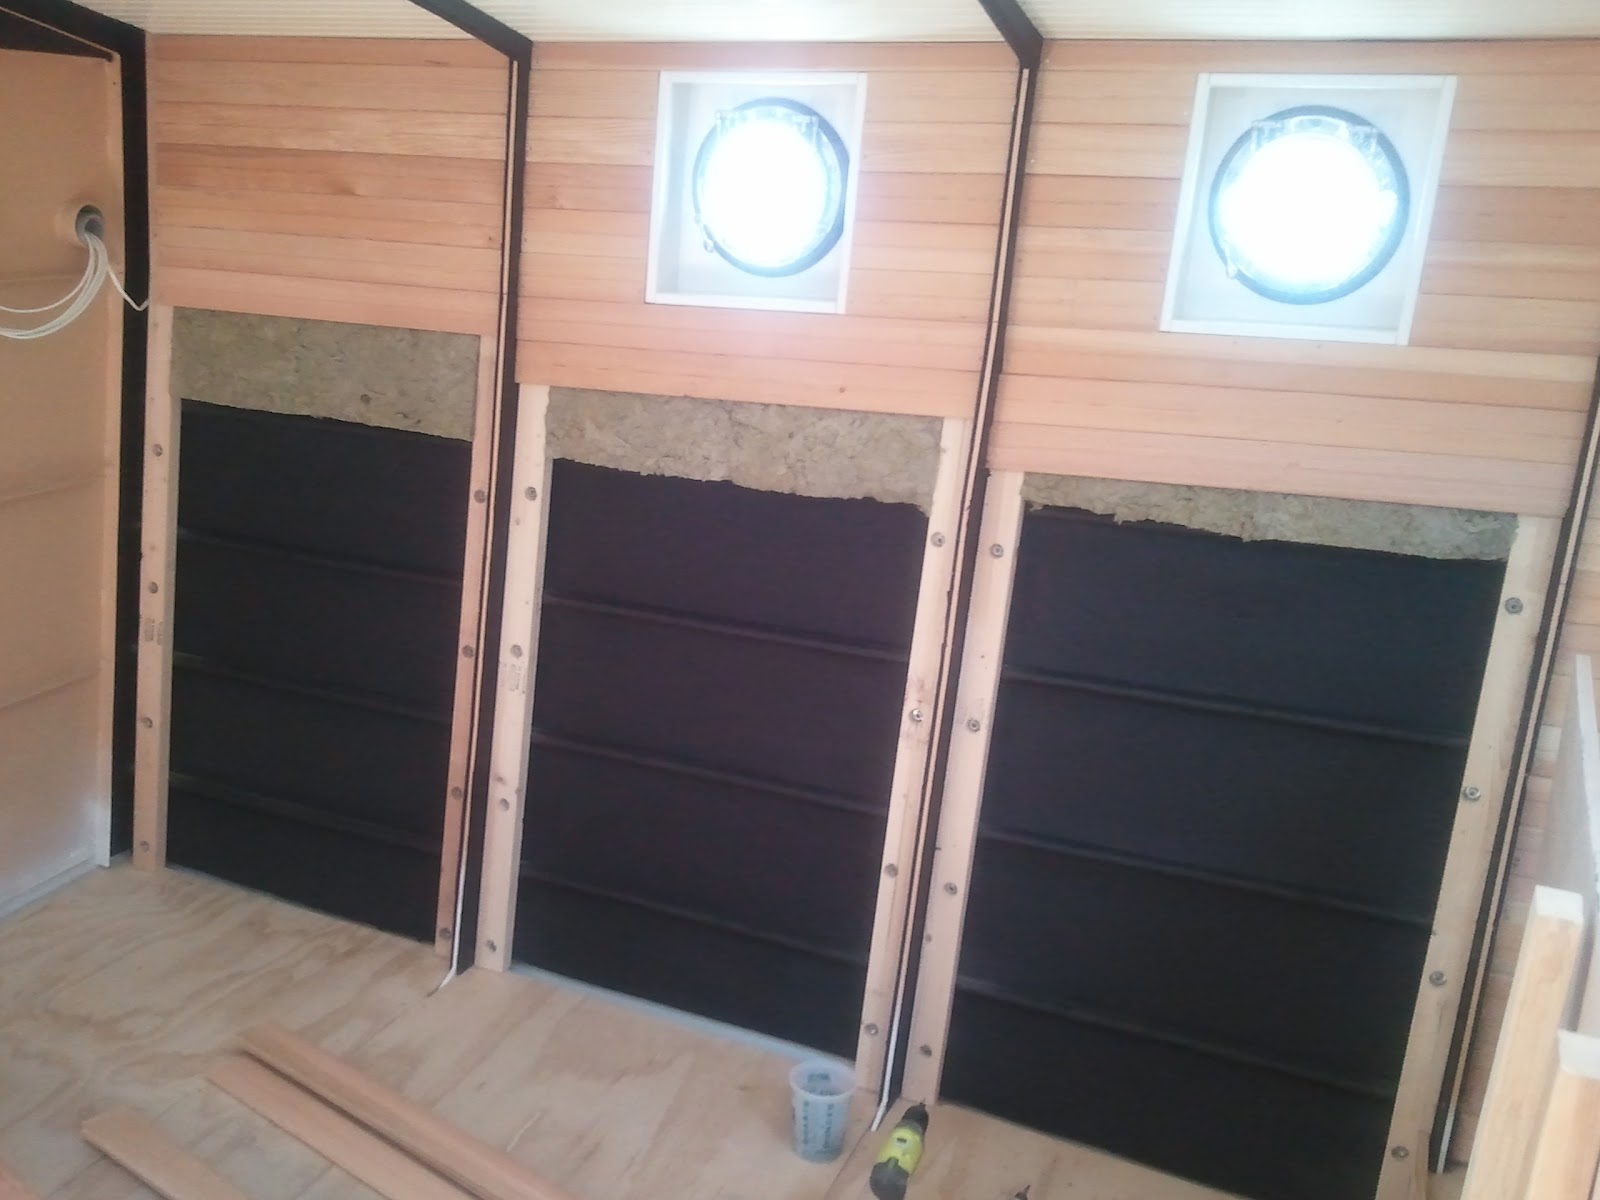
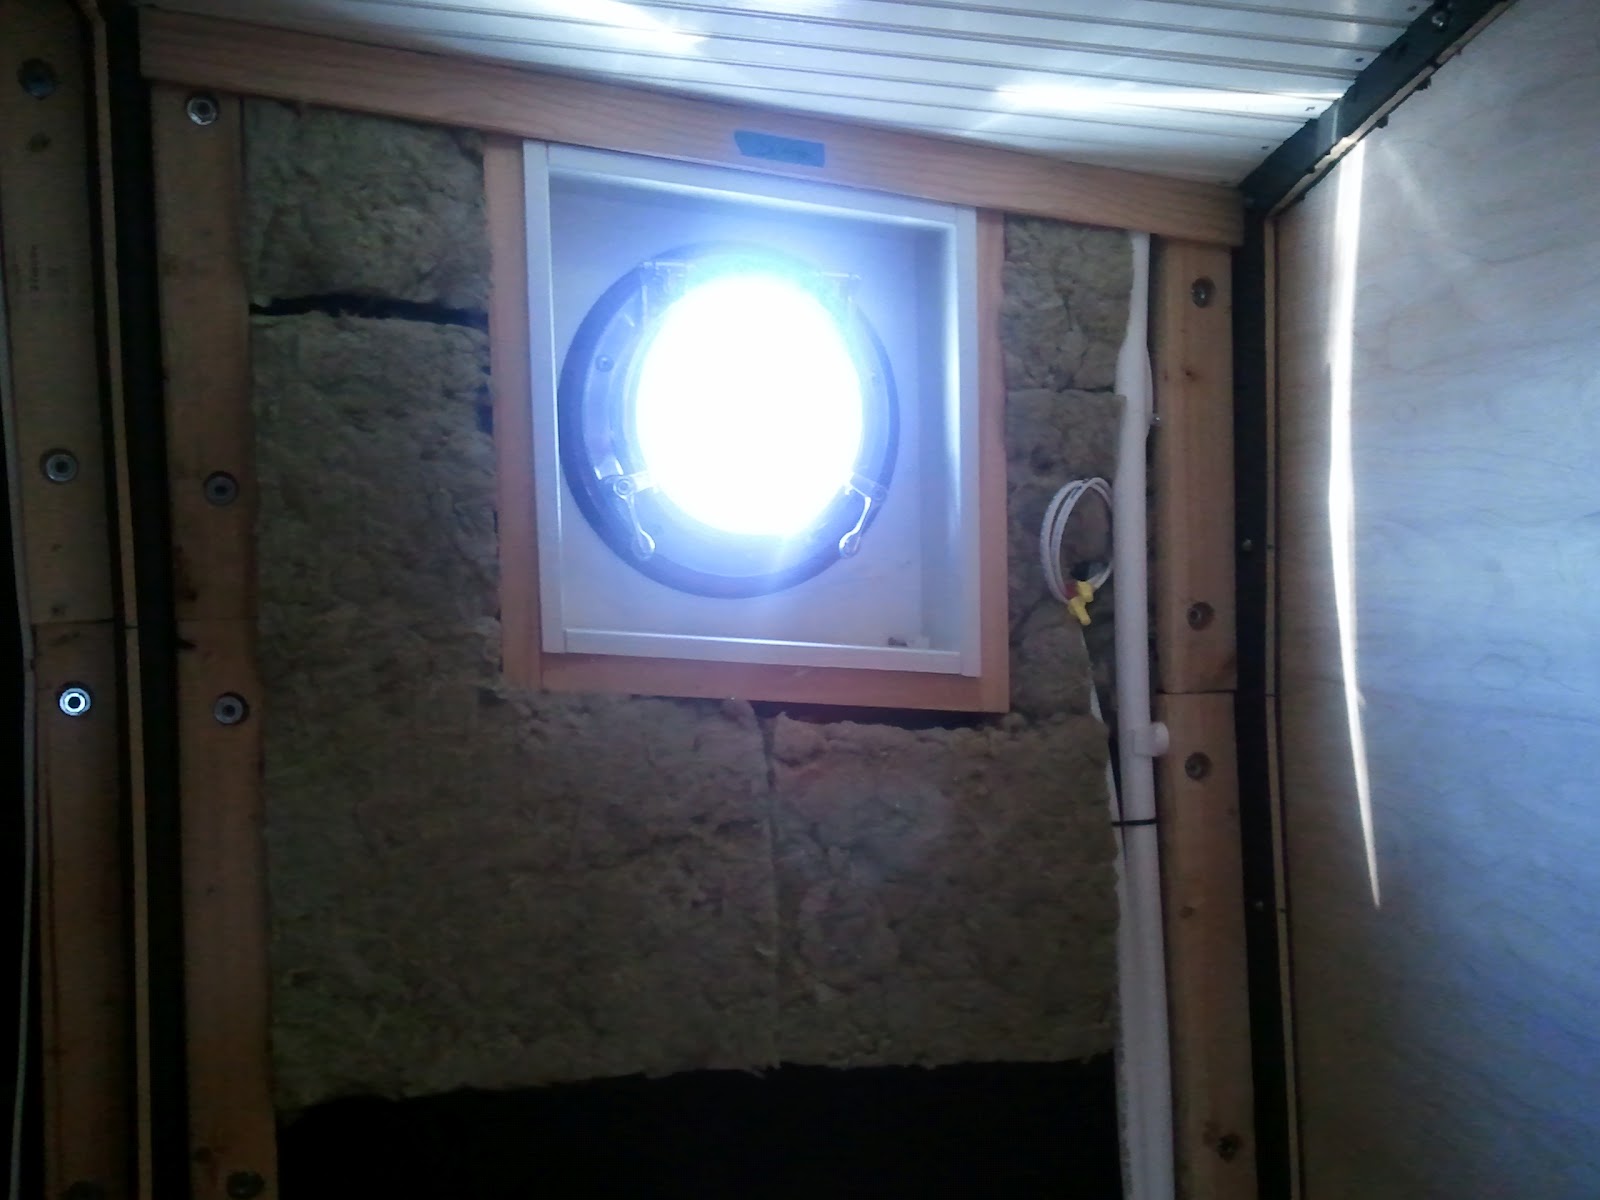
Our good friend and neighbor Dave was kind enough to spend his weekend helping us with some more carpentry. Dave's specialty is plumbing, but he has a good handle on all the trades. Having some outside help was a rare treat as we have been doing almost the entire fit-out by ourselves to date. Dave is looking at starting his own boat building project this year (composite construction catamaran) and a weekend on our project hasn't scared him off... he is very skilled and efficient and it was a pleasure having his help.
We knocked out the side-shell planking in the galley area and the guest cabin forward. Closing up the guest cabin area required the installation of some plumbing for the fill and vent for one of our water tanks. This gave us a chance to dig into our big box of pex tubing and fittings that had been sitting in storage for the last year. The first line we ran was one inch pex for the water tank #1 fill. Pex is great stuff but definitely a challenge to work with in this (larger, more rigid) size. Other than the water fills, the rest of the pex plumbing on the boat will be 3/4 and 1/2". After starting our plumbing wrestling with the 1", those smaller sizes should be a piece of cake. We have two more sections of side-shell planking, then we'll be switching gears and starting on the plumbing for the potable water, raw water anchor wash-down, black and gray water (toilets and drains), and hydronic heater plumbing. Started the install of the engine room located pumps, filters and manifolds in preparation for the plumbing work coming up... I think we'll be playing with this part of the project for at least a couple of weeks. What are you up to next week Dave?
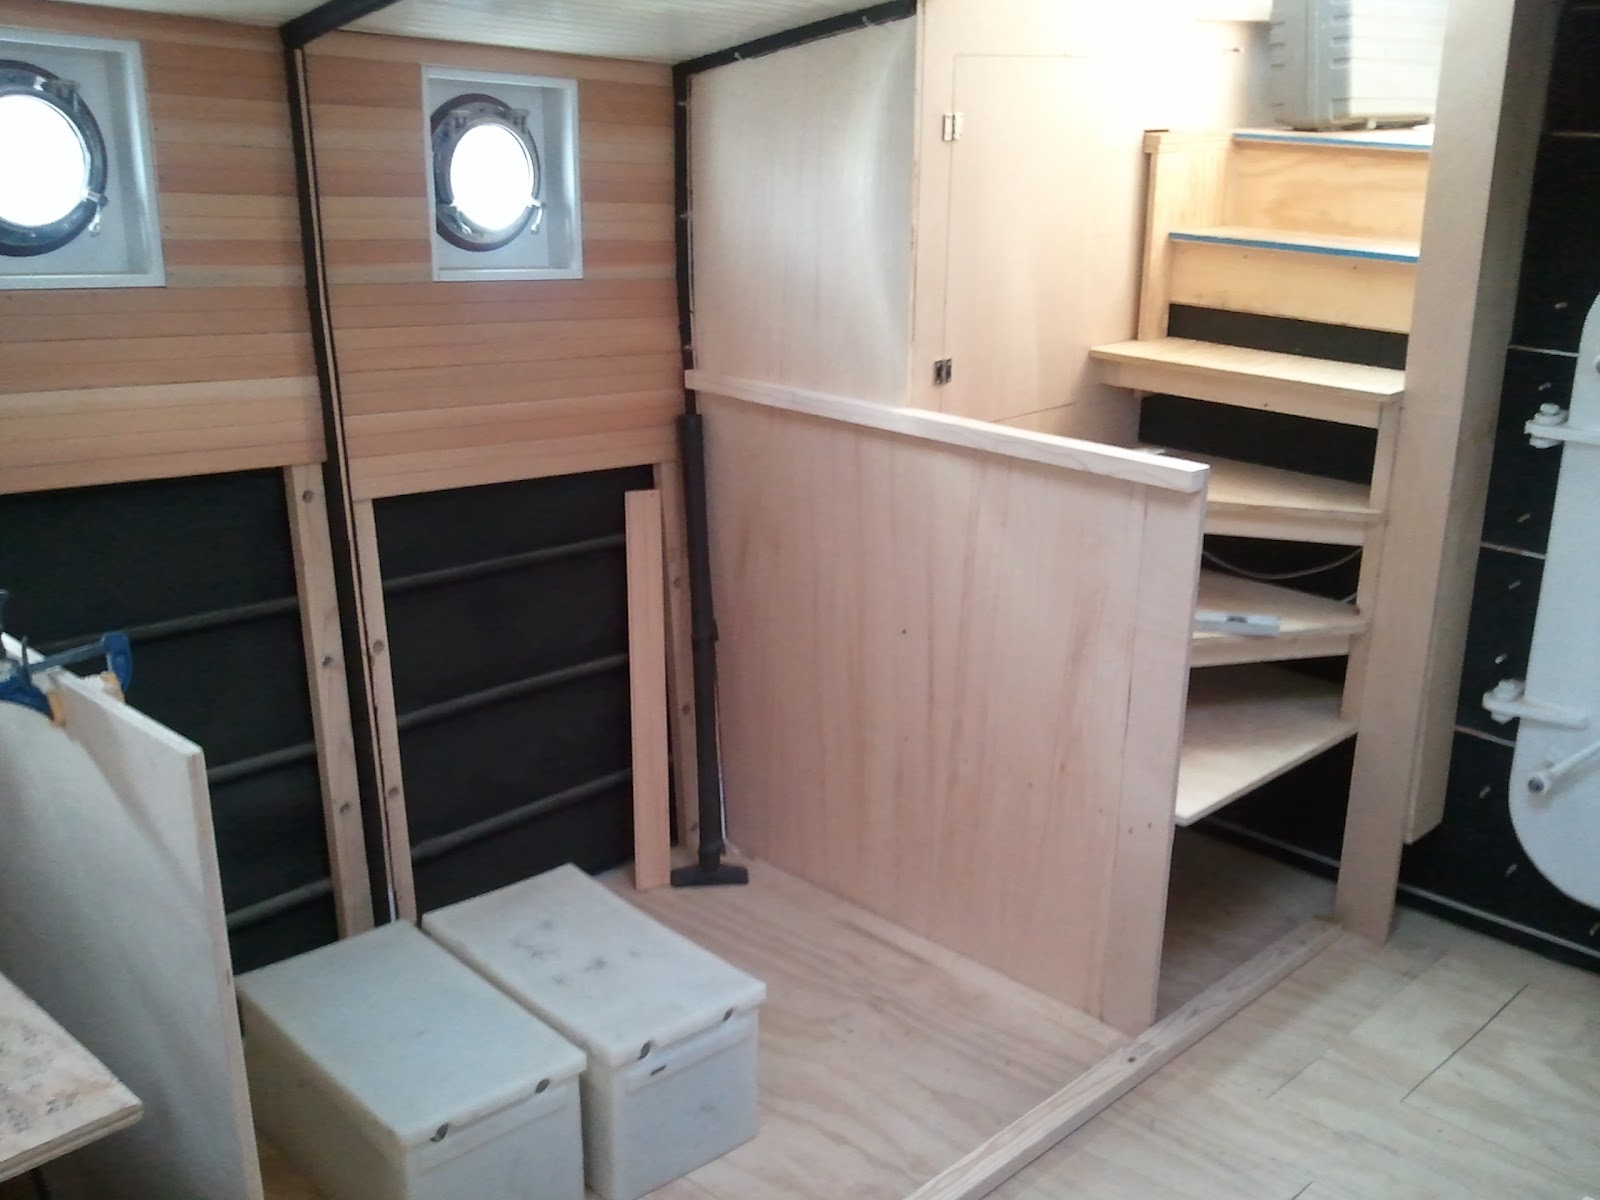
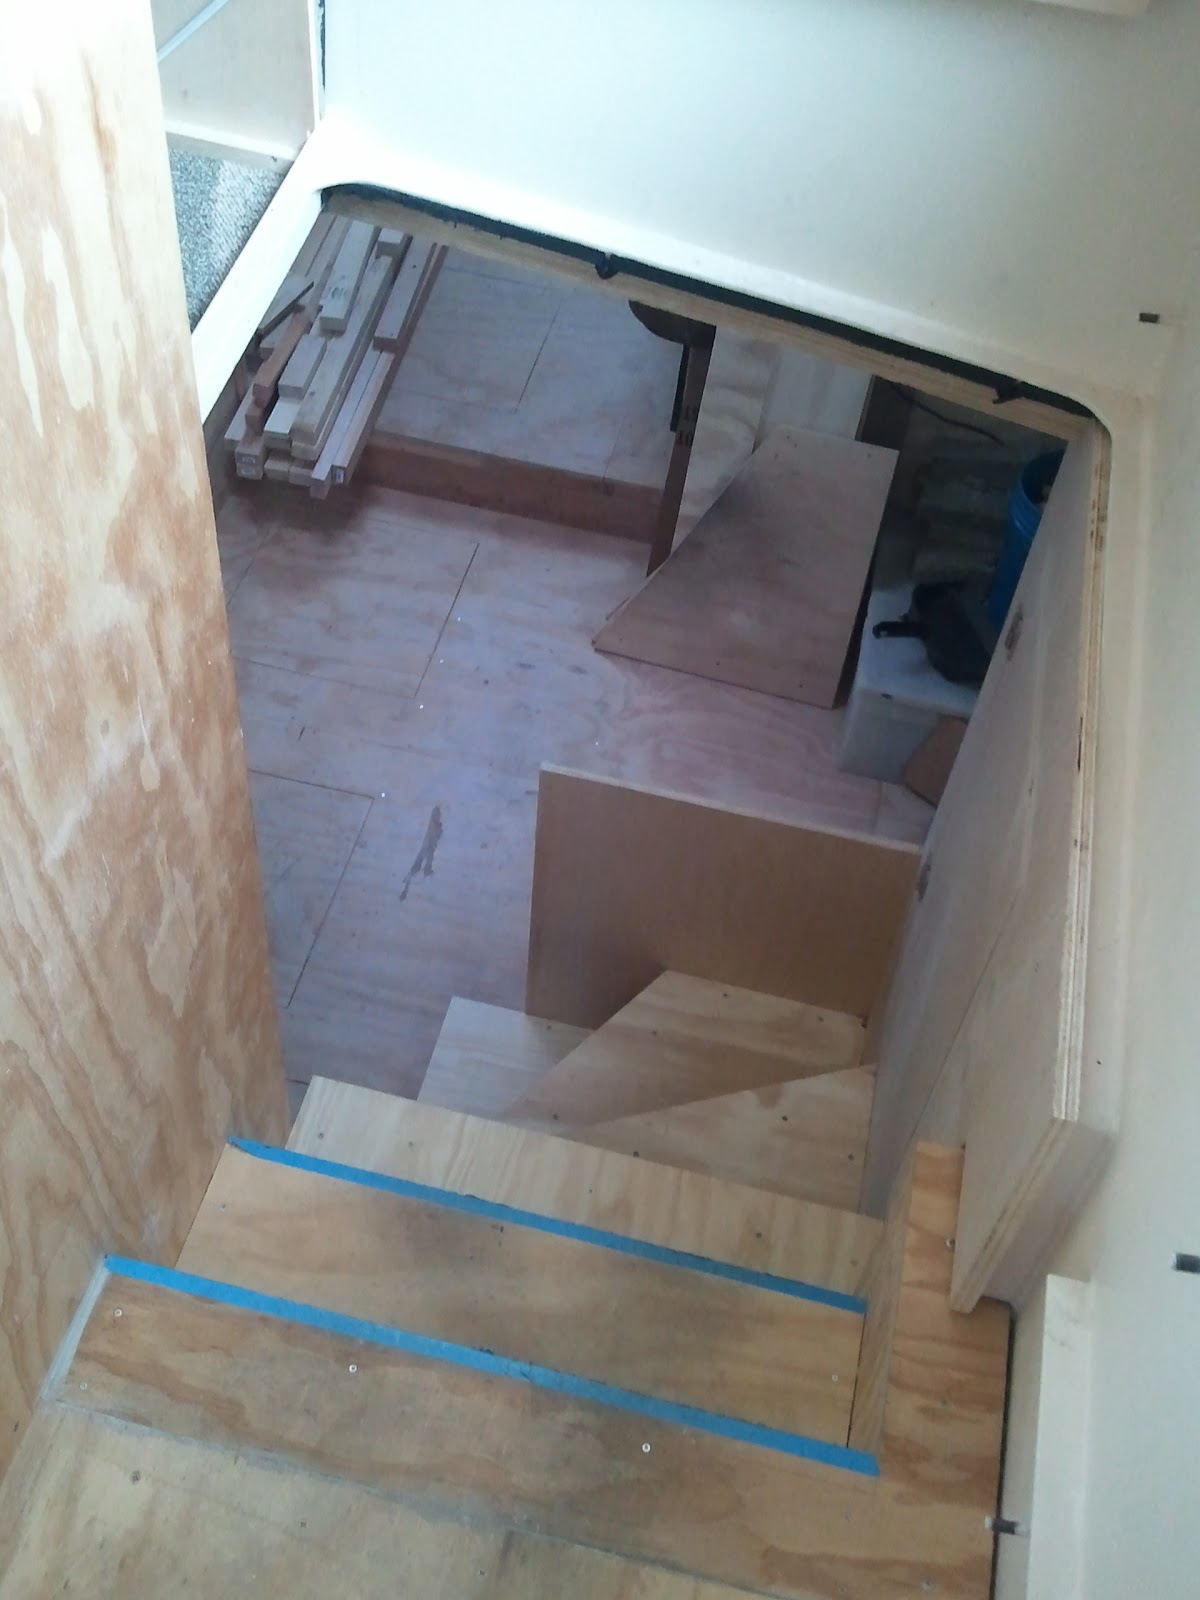
Another good weekend. Beautiful weather in Vallejo... hatches open, sun shining in, and finishing more of the carpentry rough-in. Finished the stairs, which was made a little more tricky because the last step had to be built to be removable (to access emergency batteries if they ever need replacement) but strong enough to feel solid underfoot. Also finished the dinette bulkheads fore and aft, and the platform that the benches and table will be built on. Underneath will be storage, and one of the cabin heaters from the hydronic furnace for the galley/dinette zone of the heating system. We also spent one morning of hard labor removing hundreds of pounds of scrap wood and cutoffs from previous projects. The front of the boat had become a repository for all kinds of junk and building material cast offs. As our rough-in on the interior carpentry is extending towards the bow and stern sections of the boat, this stuff had to go. I think one more trip with the forklift and we will be cleared out enough to get the fwd cabin, bath, and forepeak storage compartment roughed in. The boat is feeling lighter already. I added a video here that goes with the anchor gear from a couple of weeks ago. This is loading the chain on the winch drum for the first time using the engine driven hydraulic pump. We were running the winch at dead slow to ensure that the chain loaded up correctly... the winch runs a lot faster than this when needed. Next few weeks are looking like more carpentry, with a few little electrical side projects. Then we tackle the plumbing install.
With the engine operational and most of the wheelhouse instrumentation in place, it was time to test the engine driven hydraulics for our big anchor winch. Filled up the hydraulic tank in the engine room and the oil bath for the chain drive on the winch. Pleased to say that all operated as planned... no leaks and everything worked. The spool valve we got for the winch works really well, with infinite control over the speed of the winch in forward and reverse. We pulled the 3/8" G4 chain out of storage along with our primary anchor and brought everything down to the boat. After temporarily marking out the chain (10 shots, a shot of chain = 30ft) we hooked it up to the winch drum with a piece of nylon line (easier to cut free in an emergency) and started winding it up onto the drum. I had a vague recollection of doing some calculations when I rebuilt the anchor winch and figuring out that we could "probably" fit 300ft of 3/8 chain on the drum. Don't remember how I came to that conclusion but fortunately it was right on, and our entire batch of chain fit nicely on the winch. The anchor came up on our roller nicely as well. When we designed and fabricated this set-up a year and a half (?) ago, we made plywood models of the anchor and the roller and tested it on the boat. Much easier than having to experiment with the real thing. This was one of those rare boat building projects that worked as anticipated with no major bugs to work through. Wish it all came together this easily...
I have a little catching up to do... despite a few weeks off for vacation and some other adventures that I don't have time to get into here, we have been making some good boat progress recently. We kicked into high gear this last week or so. Finished the overhead paneling and lighting in the passageway. This was a little complicated because of the big hatch in the passageway ceiling. Definitely worth the hassle to put this extra hatch in though. With only 36"x24" clear down the stairs, we have been making use of this bigger opening to load in full sheets of plywood and other big stuff. When the hatch is closed, part of the wheelhouse seating sits on top of it. I decided that we had had a long enough trial period on the stair layout and it was time to do a proper installation. Of course this led to a whole series of related jobs with insulation, wiring, and finish work before I could button the area up and build the permanent stairway. The corner space to starboard of the stairs was a challenge as it was going to end up blocked in by the steps on one side and the dinette seating in front. I think we came up with a pretty neat solution in making it a hanging locker. Access through the little door is actually very good and it will be nice to have a place to hang jackets. Under the stairs, I'm going to have two 8D batteries that will be emergency backup power for the wheelhouse panel. These will power all the Navigation equipment and keep the engine running if everything else goes to hell. Still have to frame out the mounting for the batteries which is why the lowest step is still missing. Overall, I'm happy with the layout and glad to have another "problem area" figured out.
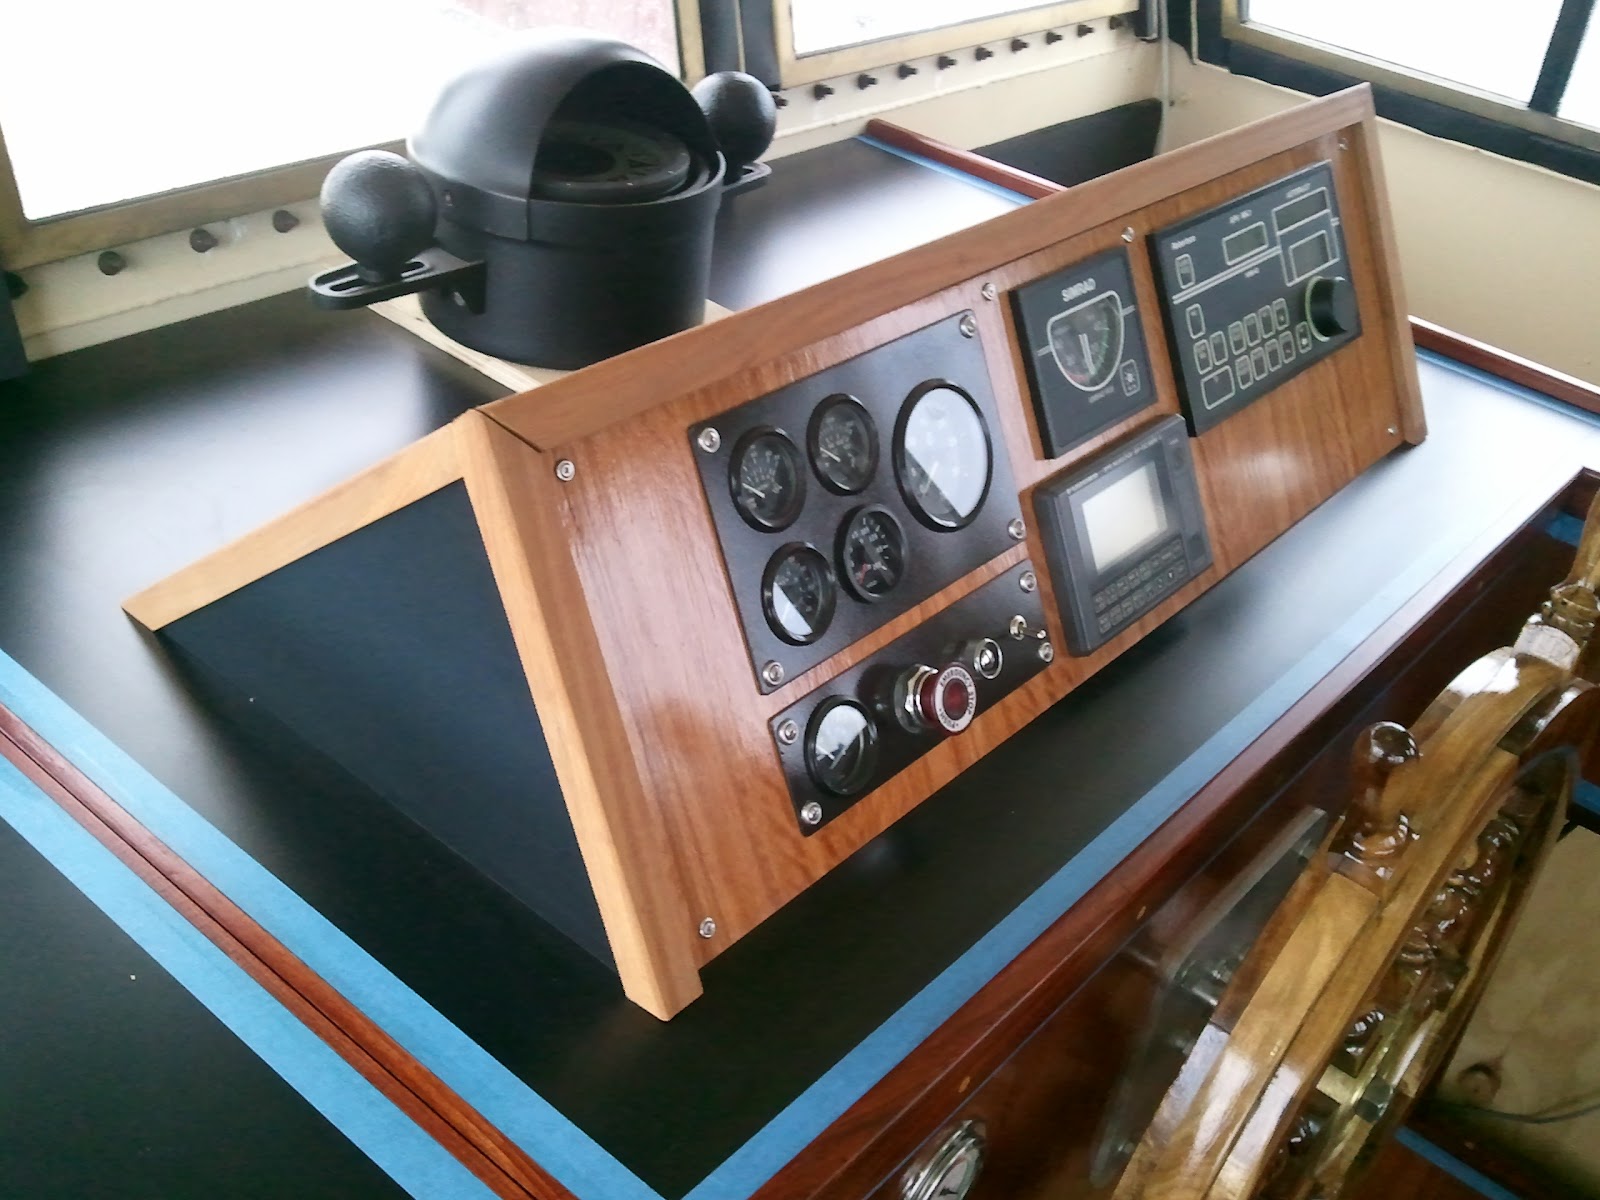
It's been a busy couple of weeks at work but I've managed to squeeze in some good boat building time (a few hours here and there) to get the wheelhouse console finished up. I am taking this particular part of the boat to a finished stage because this will allow us to go ahead with hooking up all the electronics and controls, and not have to disconnect and remove everything later when we get to finishing and trimming things out. When I last left off, I think that we had just finished installing the black laminate on the console top. For the face of the console, I used a wood veneer. This is a very thin sheet of wood that comes glued to a paper backing. The veneer is attached to the plywood with contact cement and then it is set permanently by "scraping" it down using very hard pressure with a block of hardwood. This removes any air bubbles. They say if you aren't sweating when you're done, you didn't use enough pressure. Then we gave it a light sanding and a few coats of varnish. The veneer we used is Lyptus which is a farm raised hybrid of Eucalyptus. With no stain applied (just oil and varnish) it comes out looking like a cross between teak and mahogany, with some nice reddish pink salmon tones. The instrument panel is also Lyptus (but from a different, more "blonde colored batch) and shows the wide variation in color you can find with this wood. We bought a big batch of this stuff on close-out and I'm going to use it in a few different areas on the boat. It also goes very nicely with the old salvaged mahogany that we found a few weeks ago. This mahogany finished out nicely too. We ripped some of it into smaller dimensions and shaped it for all of the trim work shown in the pics. Amazing color and grain and just the right amount of imperfections to give it some "character". Unfortunately, I got sort of wrapped up in this job and I did not take very many pictures of any of the finish work in process, so most of these pics are just of the end results. Now its back to more wiring, plumbing, and rough in carpentry...