Monday, April 30, 2012

Anchor and chain


With the engine operational and most of the wheelhouse instrumentation in place, it was time to test the engine driven hydraulics for our big anchor winch. Filled up the hydraulic tank in the engine room and the oil bath for the chain drive on the winch. Pleased to say that all operated as planned... no leaks and everything worked. The spool valve we got for the winch works really well, with infinite control over the speed of the winch in forward and reverse. We pulled the 3/8" G4 chain out of storage along with our primary anchor and brought everything down to the boat. After temporarily marking out the chain (10 shots, a shot of chain = 30ft) we hooked it up to the winch drum with a piece of nylon line (easier to cut free in an emergency) and started winding it up onto the drum. I had a vague recollection of doing some calculations when I rebuilt the anchor winch and figuring out that we could "probably" fit 300ft of 3/8 chain on the drum. Don't remember how I came to that conclusion but fortunately it was right on, and our entire batch of chain fit nicely on the winch. The anchor came up on our roller nicely as well. When we designed and fabricated this set-up a year and a half (?) ago, we made plywood models of the anchor and the roller and tested it on the boat. Much easier than having to experiment with the real thing. This was one of those rare boat building projects that worked as anticipated with no major bugs to work through. Wish it all came together this easily...

Stairs and other stuff


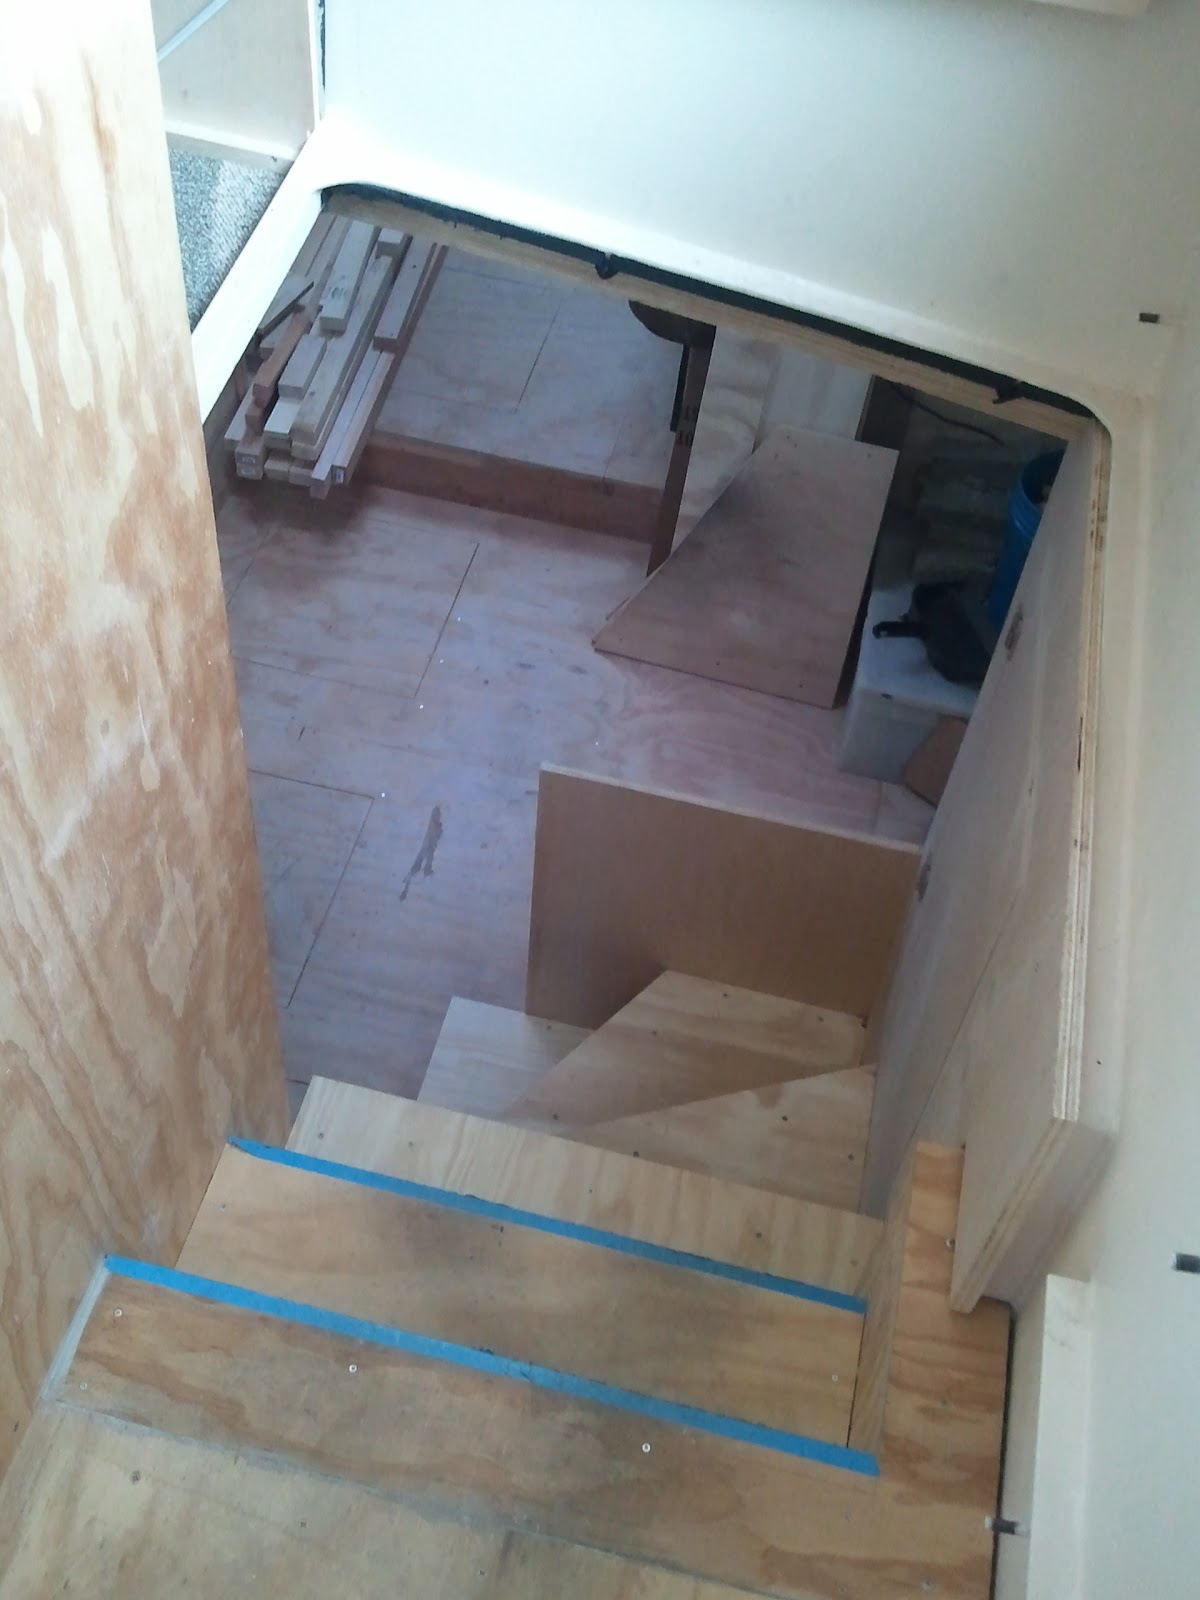
I have a little catching up to do... despite a few weeks off for vacation and some other adventures that I don't have time to get into here, we have been making some good boat progress recently. We kicked into high gear this last week or so. Finished the overhead paneling and lighting in the passageway. This was a little complicated because of the big hatch in the passageway ceiling. Definitely worth the hassle to put this extra hatch in though. With only 36"x24" clear down the stairs, we have been making use of this bigger opening to load in full sheets of plywood and other big stuff. When the hatch is closed, part of the wheelhouse seating sits on top of it. I decided that we had had a long enough trial period on the stair layout and it was time to do a proper installation. Of course this led to a whole series of related jobs with insulation, wiring, and finish work before I could button the area up and build the permanent stairway. The corner space to starboard of the stairs was a challenge as it was going to end up blocked in by the steps on one side and the dinette seating in front. I think we came up with a pretty neat solution in making it a hanging locker. Access through the little door is actually very good and it will be nice to have a place to hang jackets. Under the stairs, I'm going to have two 8D batteries that will be emergency backup power for the wheelhouse panel. These will power all the Navigation equipment and keep the engine running if everything else goes to hell. Still have to frame out the mounting for the batteries which is why the lowest step is still missing. Overall, I'm happy with the layout and glad to have another "problem area" figured out.

Monday, March 19, 2012

Wheelhouse console finished


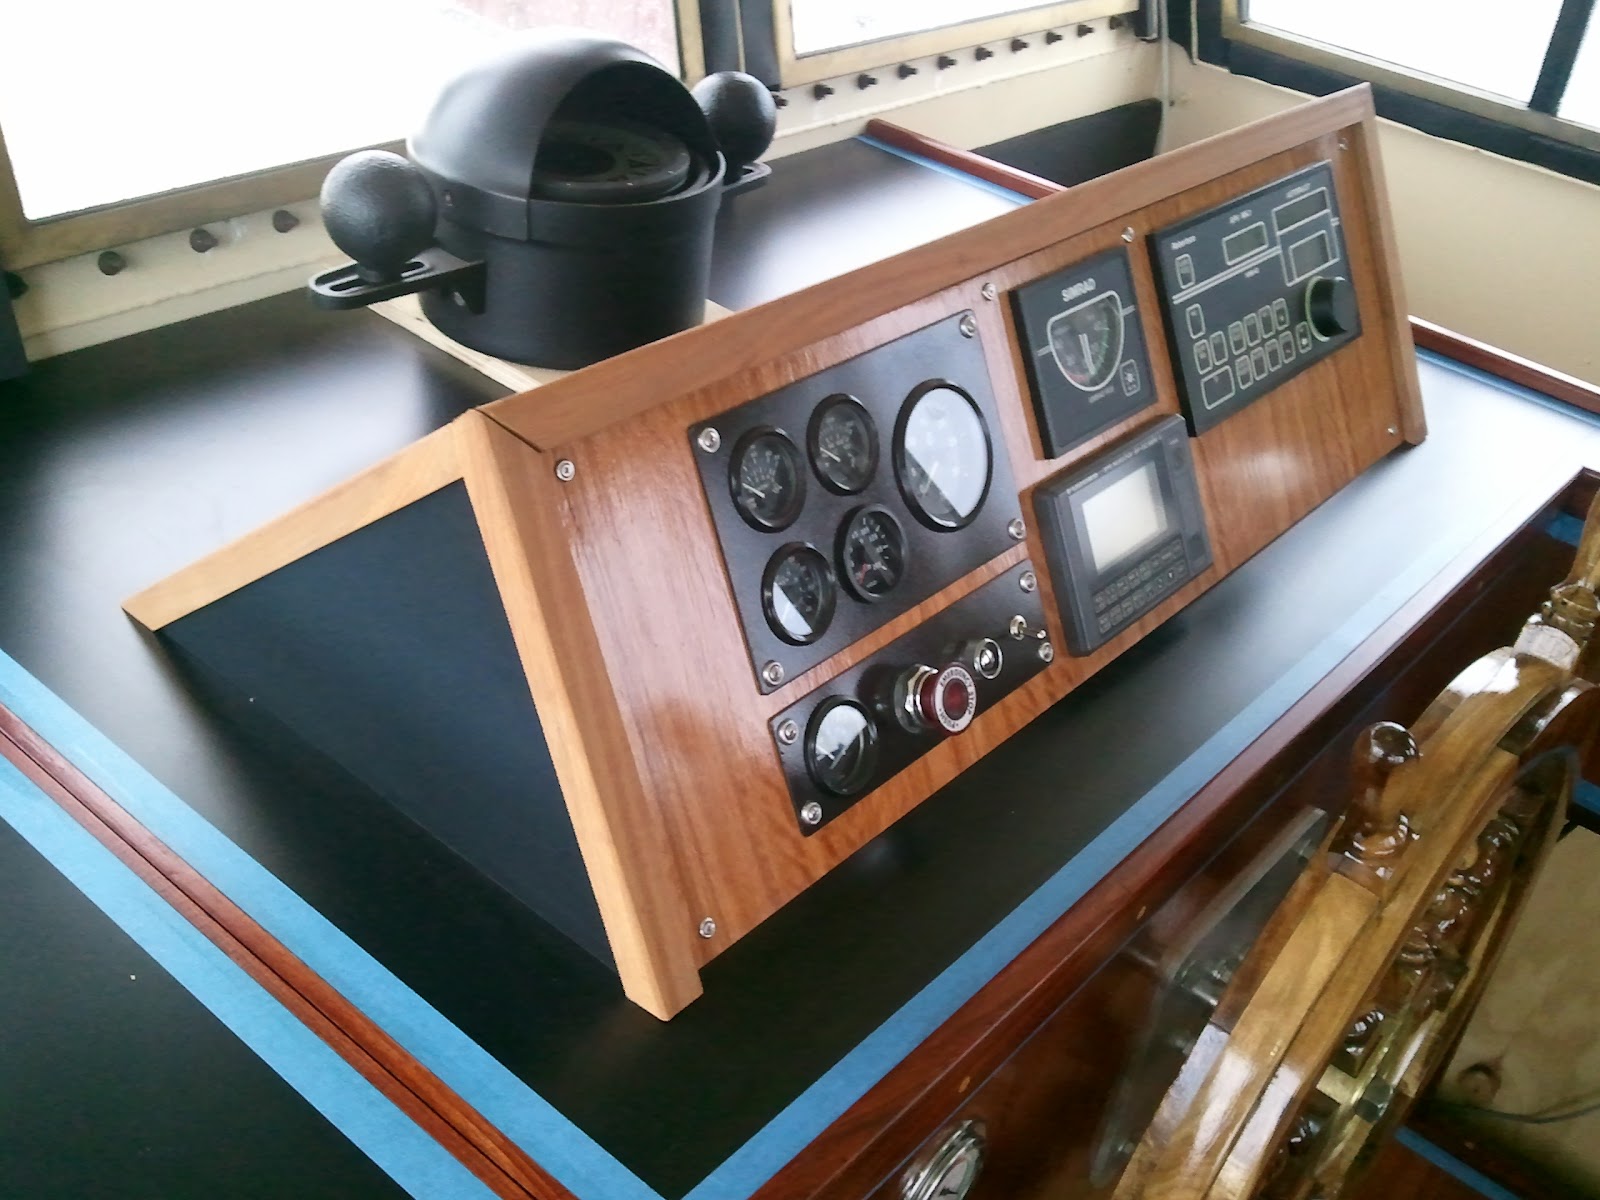
It's been a busy couple of weeks at work but I've managed to squeeze in some good boat building time (a few hours here and there) to get the wheelhouse console finished up. I am taking this particular part of the boat to a finished stage because this will allow us to go ahead with hooking up all the electronics and controls, and not have to disconnect and remove everything later when we get to finishing and trimming things out. When I last left off, I think that we had just finished installing the black laminate on the console top. For the face of the console, I used a wood veneer. This is a very thin sheet of wood that comes glued to a paper backing. The veneer is attached to the plywood with contact cement and then it is set permanently by "scraping" it down  using very hard pressure with a block of hardwood. This removes any air bubbles. They say if you aren't sweating when you're done, you didn't use enough pressure. Then we gave it a light sanding and a few coats of varnish. The veneer we used is Lyptus which is a farm raised hybrid of Eucalyptus. With no stain applied (just oil and varnish) it comes out looking like a cross between teak and mahogany, with some nice reddish pink salmon tones. The instrument panel is also Lyptus (but from a different, more "blonde colored batch) and shows the wide variation in color you can find with this wood. We bought a big batch of this stuff on close-out and I'm going to use it in a few different areas on the boat. It also goes very nicely with the old salvaged mahogany that we found a few weeks ago. This mahogany finished out nicely too. We ripped some of it into smaller dimensions and shaped it for all of the trim work shown in the pics. Amazing color and grain and just the right amount of imperfections to give it some "character". Unfortunately, I got sort of wrapped up in this job and I did not take very many pictures of any of the finish work in process, so most of these pics are just of the end results. Now its back to more wiring, plumbing, and rough in carpentry... 


Wednesday, March 7, 2012

USCG Documentation


Received our USCG paperwork. We are now an officially documented vessel. I'm sure its just a matter of time now till the tax, regulatory, and insurance folks find us. You might notice that the name of the boat is not Koloa. I'll leave that story for Sue...

Sue here. I’ve been designated by Pete to write this blog entry. A kind of payback for months/years of torture that I caused him while we decided on a name for our vessel.

At first, we planned to call her Koloa which is the Hawaiian word for Duck. We have spent a lot of time in Hawaii and the language is close to our hearts. As the design is based on a George Bueller "Diesel duck", it seemed to make sense at first. That is why the blog is called Building Koloa. However, after months of thinking about it we both came to the realization that Koloa wasn’t working for either of us. The boat design is technically a "Swan", not a "Duck". We pictured the following conversation: “why is your boat called Koloa?”,  “It’s Hawaiian for duck”, “Why Duck”, “Well, the boat design is sort of based on a Diesel Duck - but not really - it’s a Swan” etc... Too long to explain & just didn’t fit. There were no good Hawaiian words for Swan and my Dad (an avid birder) informed us that Swans, while lovely to look at, are kind of mean and aggressive. So we (mostly I) came up with a number of names. Here is a list of some of them…there were more. Many more. They are in no particular order:

Chips Ahoy, Swan Song, E. River (it’s a Swan right?) Gray Goose, Cake, Osprey (There is a pair that nest each year in the crane above our build site), Heavy Metal, Frostie (Based on the Wendy’s beverage that helped fuel many an afternoon of boatwork), Maka Koa (Hawaiian for fierce), Serendipity, Hele Lua (Hawaiian for travel together), Miss Sue, H.F. Sundae (similar to frostie), Mother Ducker, etc.

My nautical-minded husband kiboshed most of these names immediately. Some held on for awhile but never for too long. One name, which of course Pete came up with, seemed to rise above the rest. We liked what it meant & how it sounded. The boat has long, graceful lines & needed a name that would complement these. She also needed a name that would inspire us to do what we want to do with her, aside from just have her sitting in a slip. Alas the name Kama Hele (pronounced KA ma HEH leh), which means Traveler in Hawaiian, was born.


Monday, March 5, 2012

Some Finish Work


Most of our effort so far on the interior has been geared towards getting the interior to a "rough-in" stage so we can get all the systems, plumbing, electrical, etc. installed prior to the launch later this year. However, doing things over is a big time sink on a project like this, so I am doing all the finish work on the wheelhouse helm and the main electrical cabinet face frame so I can hook up electrical, instruments and controls and not have to remove everything to do the finish work in these areas later down the line. I'm midway through this finish work now, but here are some pics of the progress so far. Hopefully next post will be the finished products. The helm console and electrical cabinet face frame will be covered in Lyptus veneer (more on that in the next post). The helm console top is black formica laminate. I am cutting all the trim work from a batch of old mahogany lumber that we found out in west Marin. A last minute addition to the console was a neat flip-up section with storage underneath. Sue convinced me that this would be handy and worth the extra work. I think she is right...