Monday, January 20, 2014
Fwd floor planking
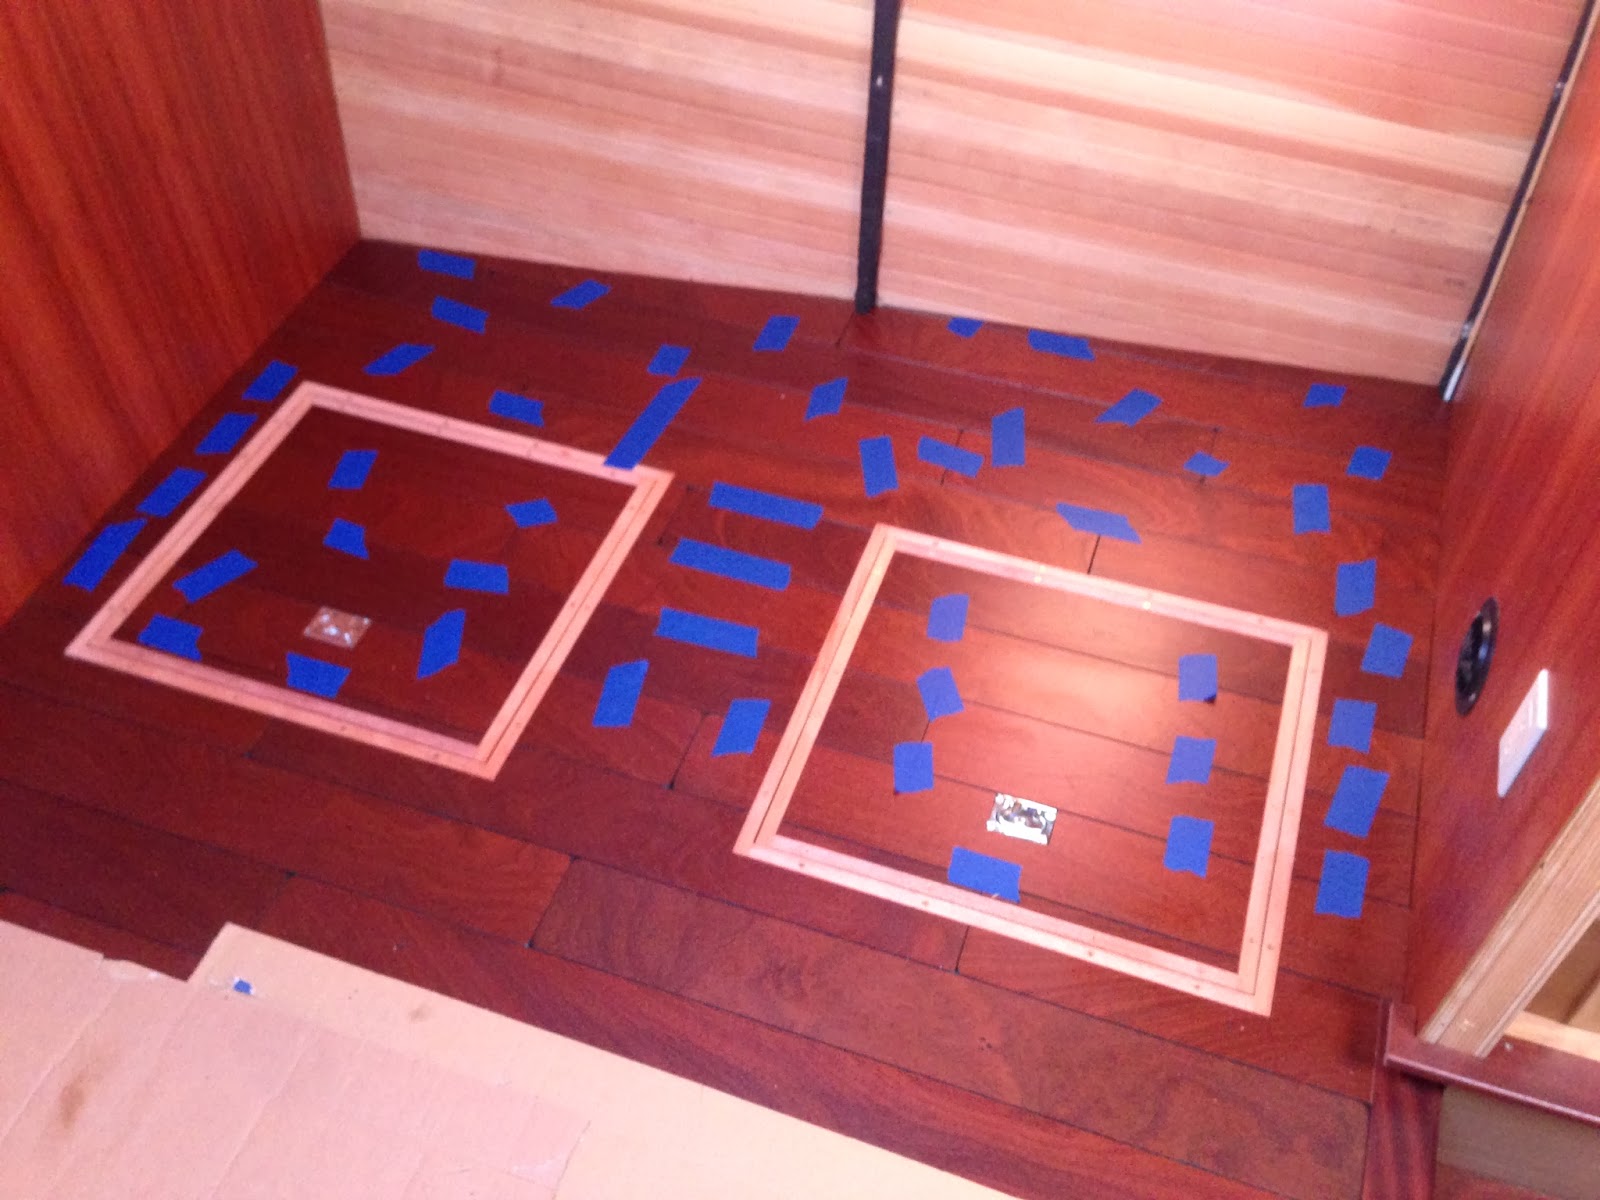
Some more pictures from last week- continuing the floor planking, moving forward from the galley/dinette area. Still have a couple of minor areas to finish, but this completes most of the plank flooring that I'm going to install. Had one little mishap in the fwd head that put a small ding in the floor there, but a little red mahogany stain touch-up and it blends in pretty well with the surrounding floor. This is why we chose a slightly distressed rustic finish to start with- dings and dents blend in well with a little touch up stain. The flat finish (instead of gloss) should help hide wear and tear as well. Next week, we'll be working on the finished floor in the forepeak and the landing just aft of the forward watertight door. Haven't sourced the material yet but I'm leaning torwards VCT (vinyl composition tile). This is the stuff you see in a lot of commercial applications and in public buildings. It comes in 12x12 glue down tiles that are 1/8"thick and looks to be very durable once installed. Just have to see how slip resistant their "slip resistant finishes" really are before we go this route. The fore peak can also be accessed via a deck hatch leading up to the anchor deck. This is a good steel watertight hatch with a decent height on the hatch coaming, but the area below in the forepeak may still get wet occasionally so we need some moisture resistance here.
Subscribe to:
Post Comments (Atom)


Small comment...did you treat the wood you are using to hold up the drop-ins? Wood will absorb moisture in the bilge. If it is fir cleat stock, you can resin coat it and it will last forever.
ReplyDeleteHi Michael,
ReplyDeleteThe wood flange that supports the deck hatches is built up from the same 3/4" exterior rated plywood as the sub-floors. It's supposed to be waterproof glue, very few voids, etc. but your advice is good and I do plan on hitting these areas with sealer when we get back to interior paint and varnish work this Spring.
Peter