Wednesday, October 11, 2017

The Haul-out

So its been a little over two years since our last haulout.
No real surprises coming out of the water. We lost a little paint around the anodes (we are slightly over-protected with zincs), and the prop had quite a bit of calcified growth, and a nice colony of mussels on the keel cooler. We designed a big margin on the keel cooler to allow for warmer water and marine growth. Was nice to see that the engine cooling system was still performing great, even with all the growth that we had on the cooler.


We got right to work installing the thruster tube. The bow thruster tube is a section of 12" schedule 40 steel pipe, about 3/8" wall thickness. Plenty strong. Here's some of the work cutting in the holes for the pipe.


Once the fit-up was good, the tube was scribed and cut to match the hull plating. We added doubler plates and a couple of bolt on steel bars on each side of the tunnel to keep big debris out of the tunnel.


The controller went right between the tiller and the engine controls. It looks a little tight in the pics, but is very ergonomic, and allows for easy control of the rudder and bow thruster with one hand.


A great tool for this kind of work:


The cat wasn't much help:


I spent the second weekend at the shipyard cleaning and painting the inside of the forepeak, then installing the gear leg (the part that connects the motor to the counter-rotating props), and hooking everything up: hoses, wiring, directional control valve, gear oil reservoir, etc.


The finished product:


I got my hands on a "corrosion meter", which measures the effectiveness of the zinc anodes protecting the hull, and tells you if  all the underwater metals are properly protected by the anodes.
Required a 1/2" hole in the hull for the reference anode and a couple of wires to hook up:


Decided to try Propspeed coating on the propeller to cut down on some of the growth between haulouts. Also added a nasty looking serrated line cutter to the shaft:


Back in the water:


The bow thruster worked right out of the travel lift- no issues, plenty of power, and a huge improvement in close-quarters maneuverability.


Thursday, September 21, 2017

Hooking up the hydraulics

Kind of light on the pictures, but just prior to hauling out we got most of the hydraulic plumbing in place up to the forward bulkhead where the bow thruster is going. This included three more lines from engine room to bow (supply, return, and case drain from the thruster motor- more on that later).
There was also a lot of engine room hoses to make and install. I used a hydraulic fitting crimper to make all the hoses in the shop at work:


Then a weekend installing everything:


Snaking new hoses through the boat to the bow:


Reworking the anchor winch plumbing to work with the new hydraulic pump:


Hooking up all the wiring for the control box:


After all this, I was able to successfully start up the engine and run the pump to set pressures and make sure all the controls for the system work the way they are supposed to. This pump is a beast: 
20+ gpm at 3,000 psi, at engine idle. So far so good. Good pressure, no leaks found, and the anchor winch works. The big test will be running the bow thruster motor after we get it installed at the end of our haulout. Hope to be able to launch the boat with the bow thruster fully functional.

Sunday, August 27, 2017

More prep for new hydraulics and bow thruster install

Here are some pics of another weekend of work getting ready for the installation of the new bow thruster and hydraulic system upgrade. In order to get access to weld in the 12” pipe that will become the bow thruster tube, I had to remove some interior interferences in the forepeak. This mostly involved cutting back the decking in a way that would allow access for the work, but could be temporarily re-assembled so we don’t have to live with a big hole in the deck for the next few weeks.


In the engine room, I installed all the hydraulic distribution blocks and other components, including adjustable pressure and flow controls coming off the main pressure output of the pump for the anchor winch. This is so that the high 3000 psi pressure and 20+ gpm flow from the pump (as it is set up for the bow thruster) doesn’t overwhelm the winch motor or any other less demanding loads we attach to the system.

The system of distribution and return blocks make for a neat arrangement with minimum extra fittings, and lots of extra ports for future expansion. In order to fit everything on the bulkhead (including the big cabinet housing the electronics for the hydraulic system), I had to move the fixed fire suppression bottle over a few inches. All the mounted components and distribution blocks are attached to the bulkhead with bolts that are threaded into the aluminum mounting plate from the front, so they are easy to remove if needed.


A few additional hose runs from the engine room to the bow are needed for pressure, return, and case drain lines. New holes are now drilled through the bulkheads and once painted, I will be installing JIC hydraulic bulkhead fittings at these transitions.


 With all the primary pieces installed, I will be measuring (at least twice) and making up the hoses that connect everything together. Cleanliness is critical with hydraulic stuff, so I am doing my best to keep everything clean and capped during the install.

The only hose that does not use a crimped fitting is the supply line from the tank to the pump inlet. This is a monster 2.5” id hose. If they even make crimping dies in this size, we definitely do not have one in our shop. Instead, it will be secured will dual T-clamps at each end. Since this is a low pressure line, that should be more than enough to stay leak free. I was a little worried about fitting up this hose because in this size, the necessary wire reinforced construction to keep from collapsing under suction makes it very inflexible. Fortunately, with a straight flange adapter coming off the bottom of the pump it made a nice easy single curve down and straight back up to meet the tank fitting. Both the supply and case drain fittings at the bottom of the tank have ball valves that will be handy for servicing the system without draining the tank. I like to remove the handles on any valves that are normally open and would cause damage to equipment if accidentally closed when running, so I’m doing that here as well.


Friday, July 28, 2017

Preparing for the bow thruster install

The past couple of months of boat work have been focused on doing the design and prep work to install a bow thruster at our next haul-out. I have been driving boats of all different types and for over 20 years now and consider myself a pretty decent boat handler. Kama Hele is a very predictable, easy handling boat for a single screw, having a full deep keel, big rudder, and a 3.5:1 reduction gear turning a big prop.

But... there is no doubt that being able to spin the boat in her own length in a narrow fairway in an unfamiliar marina, or holding the bow tight to the dock against the wind while sorting out what we can tie off to would be a benefit when cruising. Of course we could have installed one for a lot less money and headaches while we were designing and building the boat, but I remember being completely out of funds when that time came and went. So, now the effort will require a lot of additional engineering and surgery on the boat to make it happen. So it goes...

We chose to go with a big, heavy, high-powered hydraulic bow thruster because our boat is also big and heavy, and there is no sense in going to all this trouble for a marginally performing installation.
After a lot of shopping we chose a 12" dual prop counter-rotating design by ABT (American Bow Thruster,
aka TRAC/Arcturus Marine). They are located in Rohnert Park (local) and do almost all of their fabrication work in-house. Excellent design and build quality from everything I've seen out there.
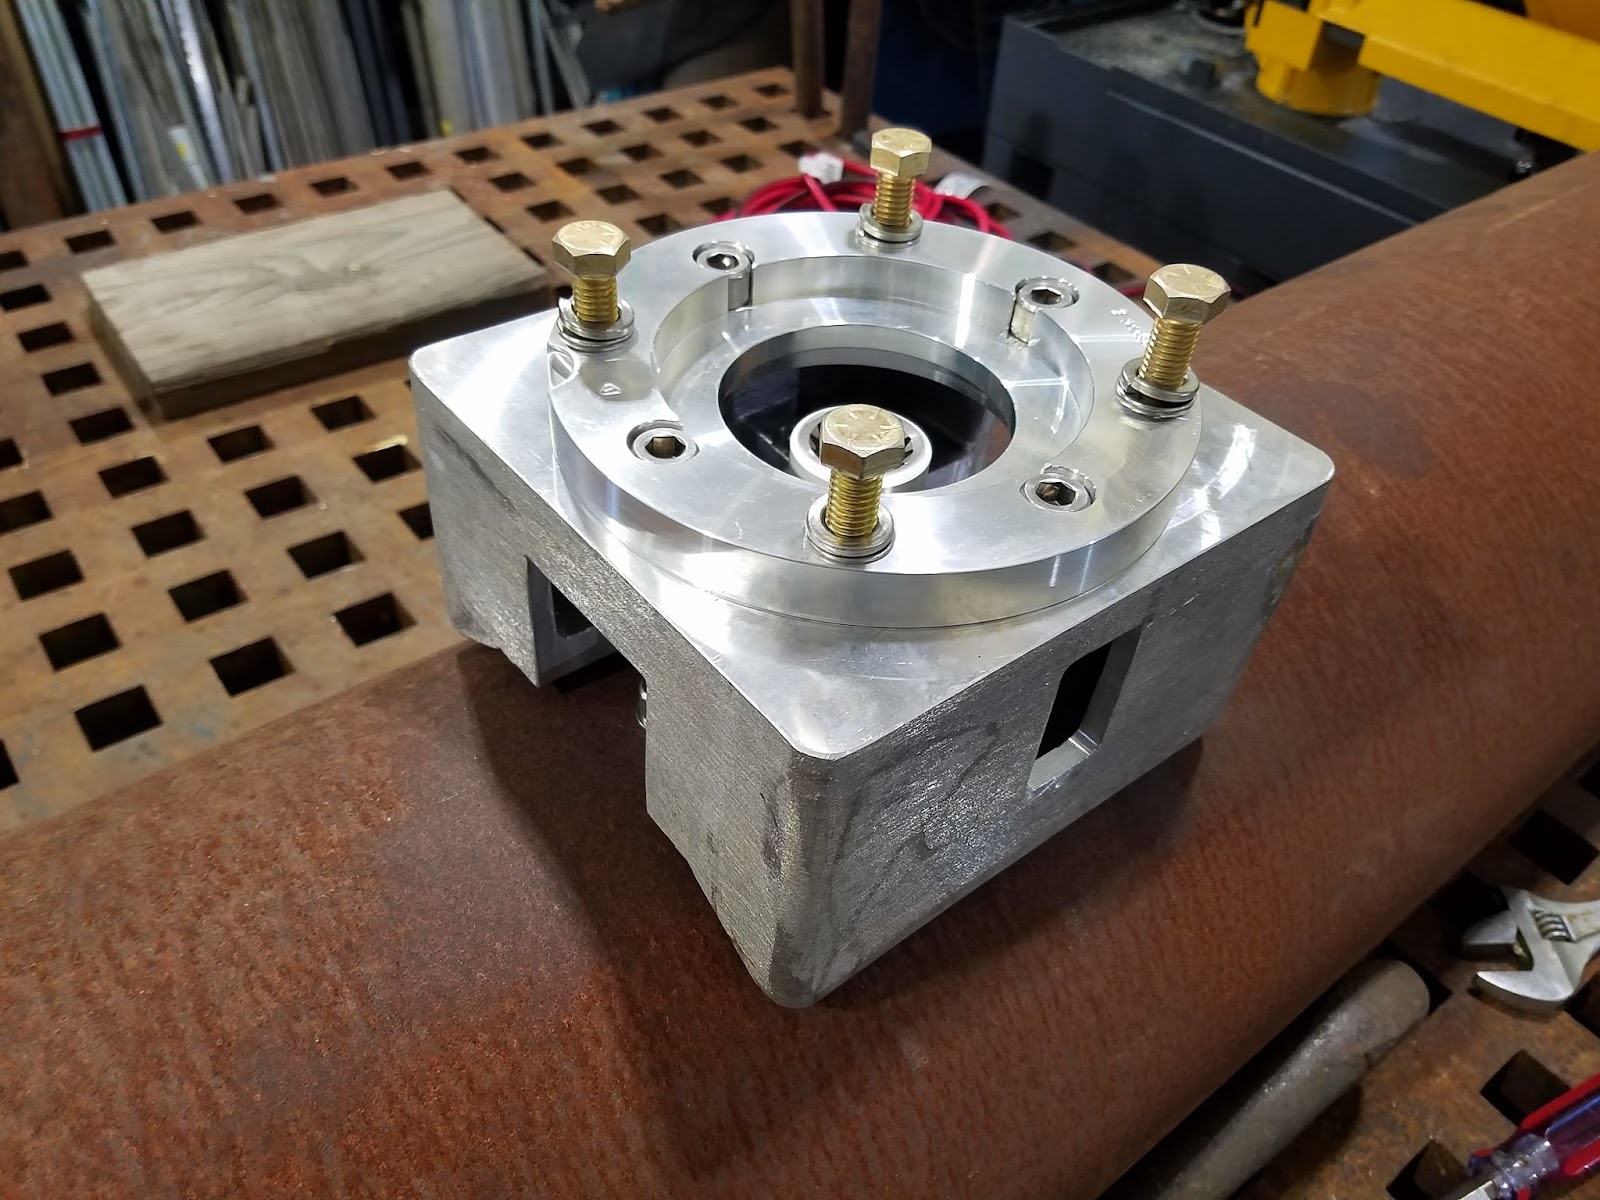
Here are some pics of the prep work on the hydraulic tunnel (12" sch40 steel pipe) and the fit-up of the gear leg and hydraulic motor for the thruster. We plan on welding this tunnel in place at our next haul out later this summer.


The engine PTO (power take-off) has been the most challenging part of the project so far. In order to provide the flow rate necessary to power this monster bow thruster (close to 25 gpm at low engine rpm) during docking, I had to upgrade the little 8gpm gear pump that we installed for the anchor winch to a 100cc axial piston variable output pump. This can pull hp in the 20+ hp range from the engine so the only option for driving it was off the front crankshaft of our Cummins 6BT main engine.

Even though the pump output is based on demand (it will happily spin at no load when no power is being demanded of the hydraulic loads attached to it), I really wanted the ability to clutch out the hydraulics completely when I'm not using the system. It was a big challenge to fit up: crankshaft adaptor-torsional coupling(to absorb vibration)-spline drive-BIG electric clutch-SAE C mounting pad-BIG hydraulic pump, and hang it all off the front of the engine in the limited space available. This involved some modifications to the front engine mounts and the framing for the deck plate in front of the engine.

Here is the result, which I am very happy with so far:


The big hydraulic pump just fit...


This pump also required up sizing the hydraulic tank. Pretty much the same deign as my old tank, but with a 12 gal capacity and up-sized fittings, including a 2.5" supply port to feed the new hydraulic pump. I am hoping that with the ability to clutch out the hydraulic system completely when not in use, I will be able to dispense with the complication of a cooling circuit for the hydraulic oil.


Since the new pump blocked access to the electic bilge pump in the bilge below, I moved the bilge pump off center, to the outboard side of the port side engine rail support. This puts it a little higher in the bilge, but it will kick in before any fluids in the bilge would reach the engine or the gear, so I can live with that.


This is all a lot of work, which hopefully will result in a high capacity robust hydraulic system that is big enough to also drive additional deck winches, pumps, and any other hydraulic gadgets we can come up with.